

Sending a general email to all arrestees is a good place to start. But adding custom fields to your criminal marketing email campaigns can improve your email deliverability and open-rate. In this guide, we’ll go over how you can add name, county, and charge fields to your email body and subject line.
Adding recipient’s name to subject line
Adding your recipients name to the subject line of your email makes it easier to avoid getting sent to spam and attract attention in what may be a busy inbox. Here’s how you can get started:
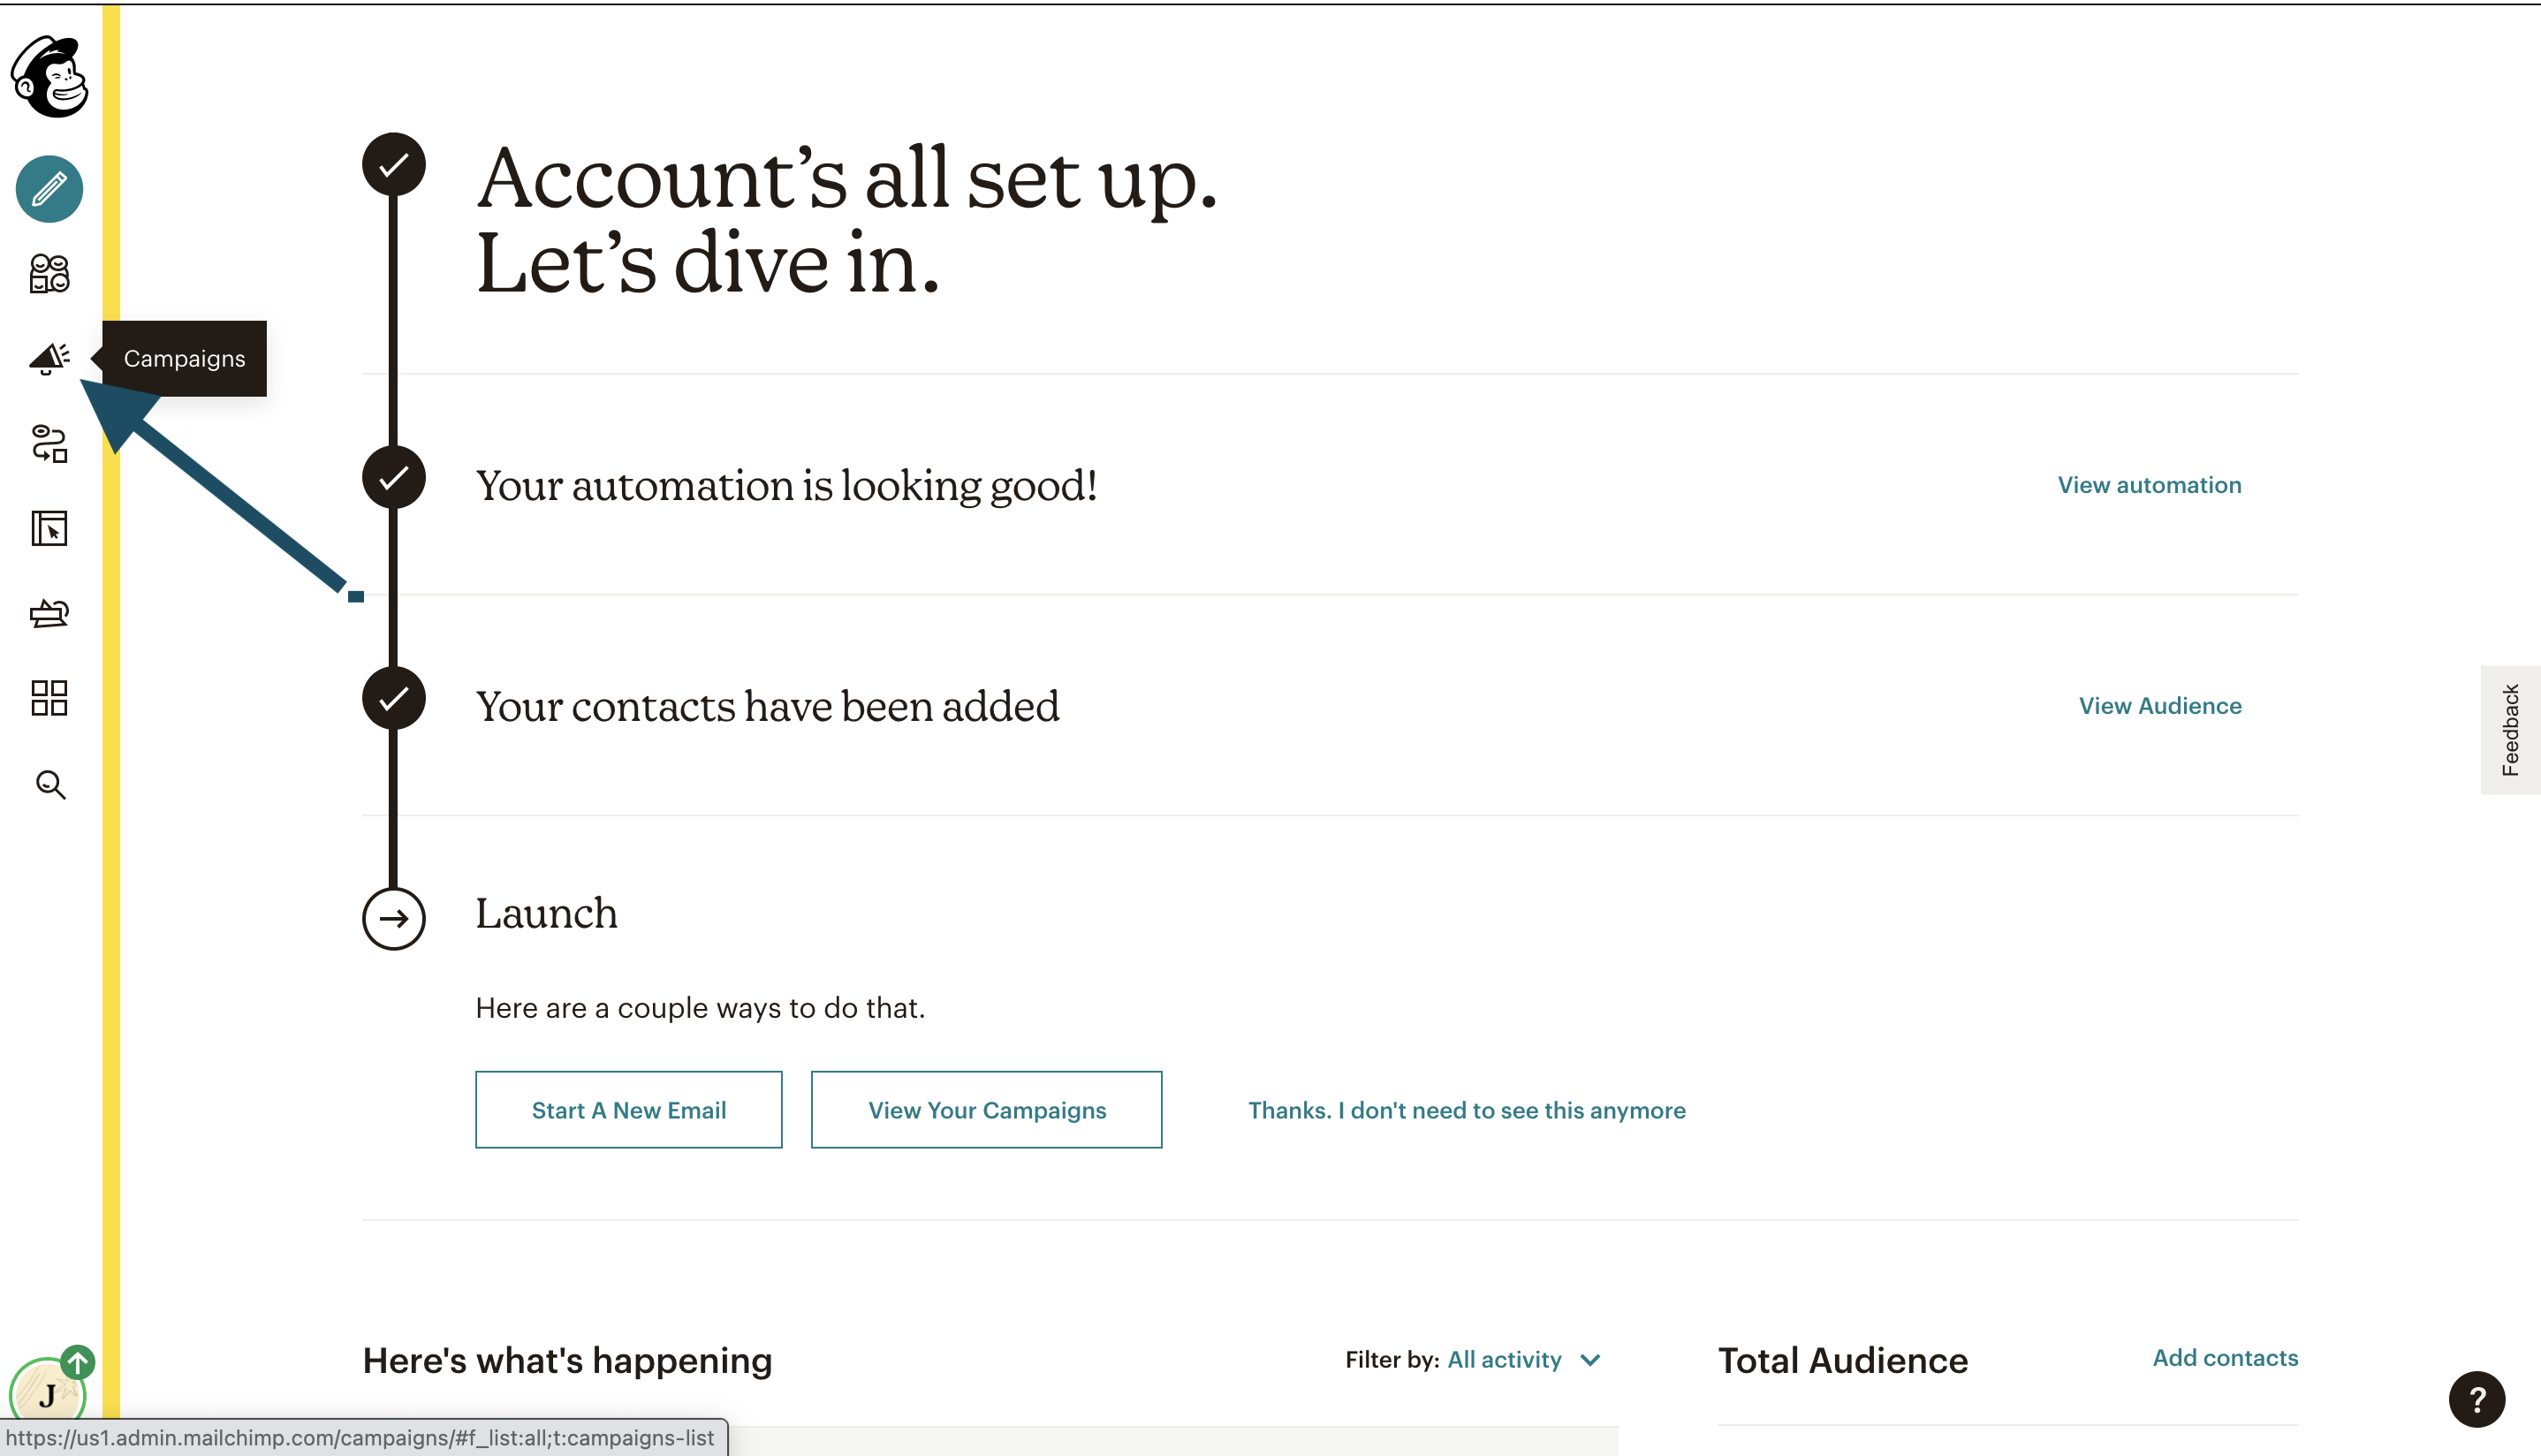
- Navigate to the Campaigns section of your MailChimp account.
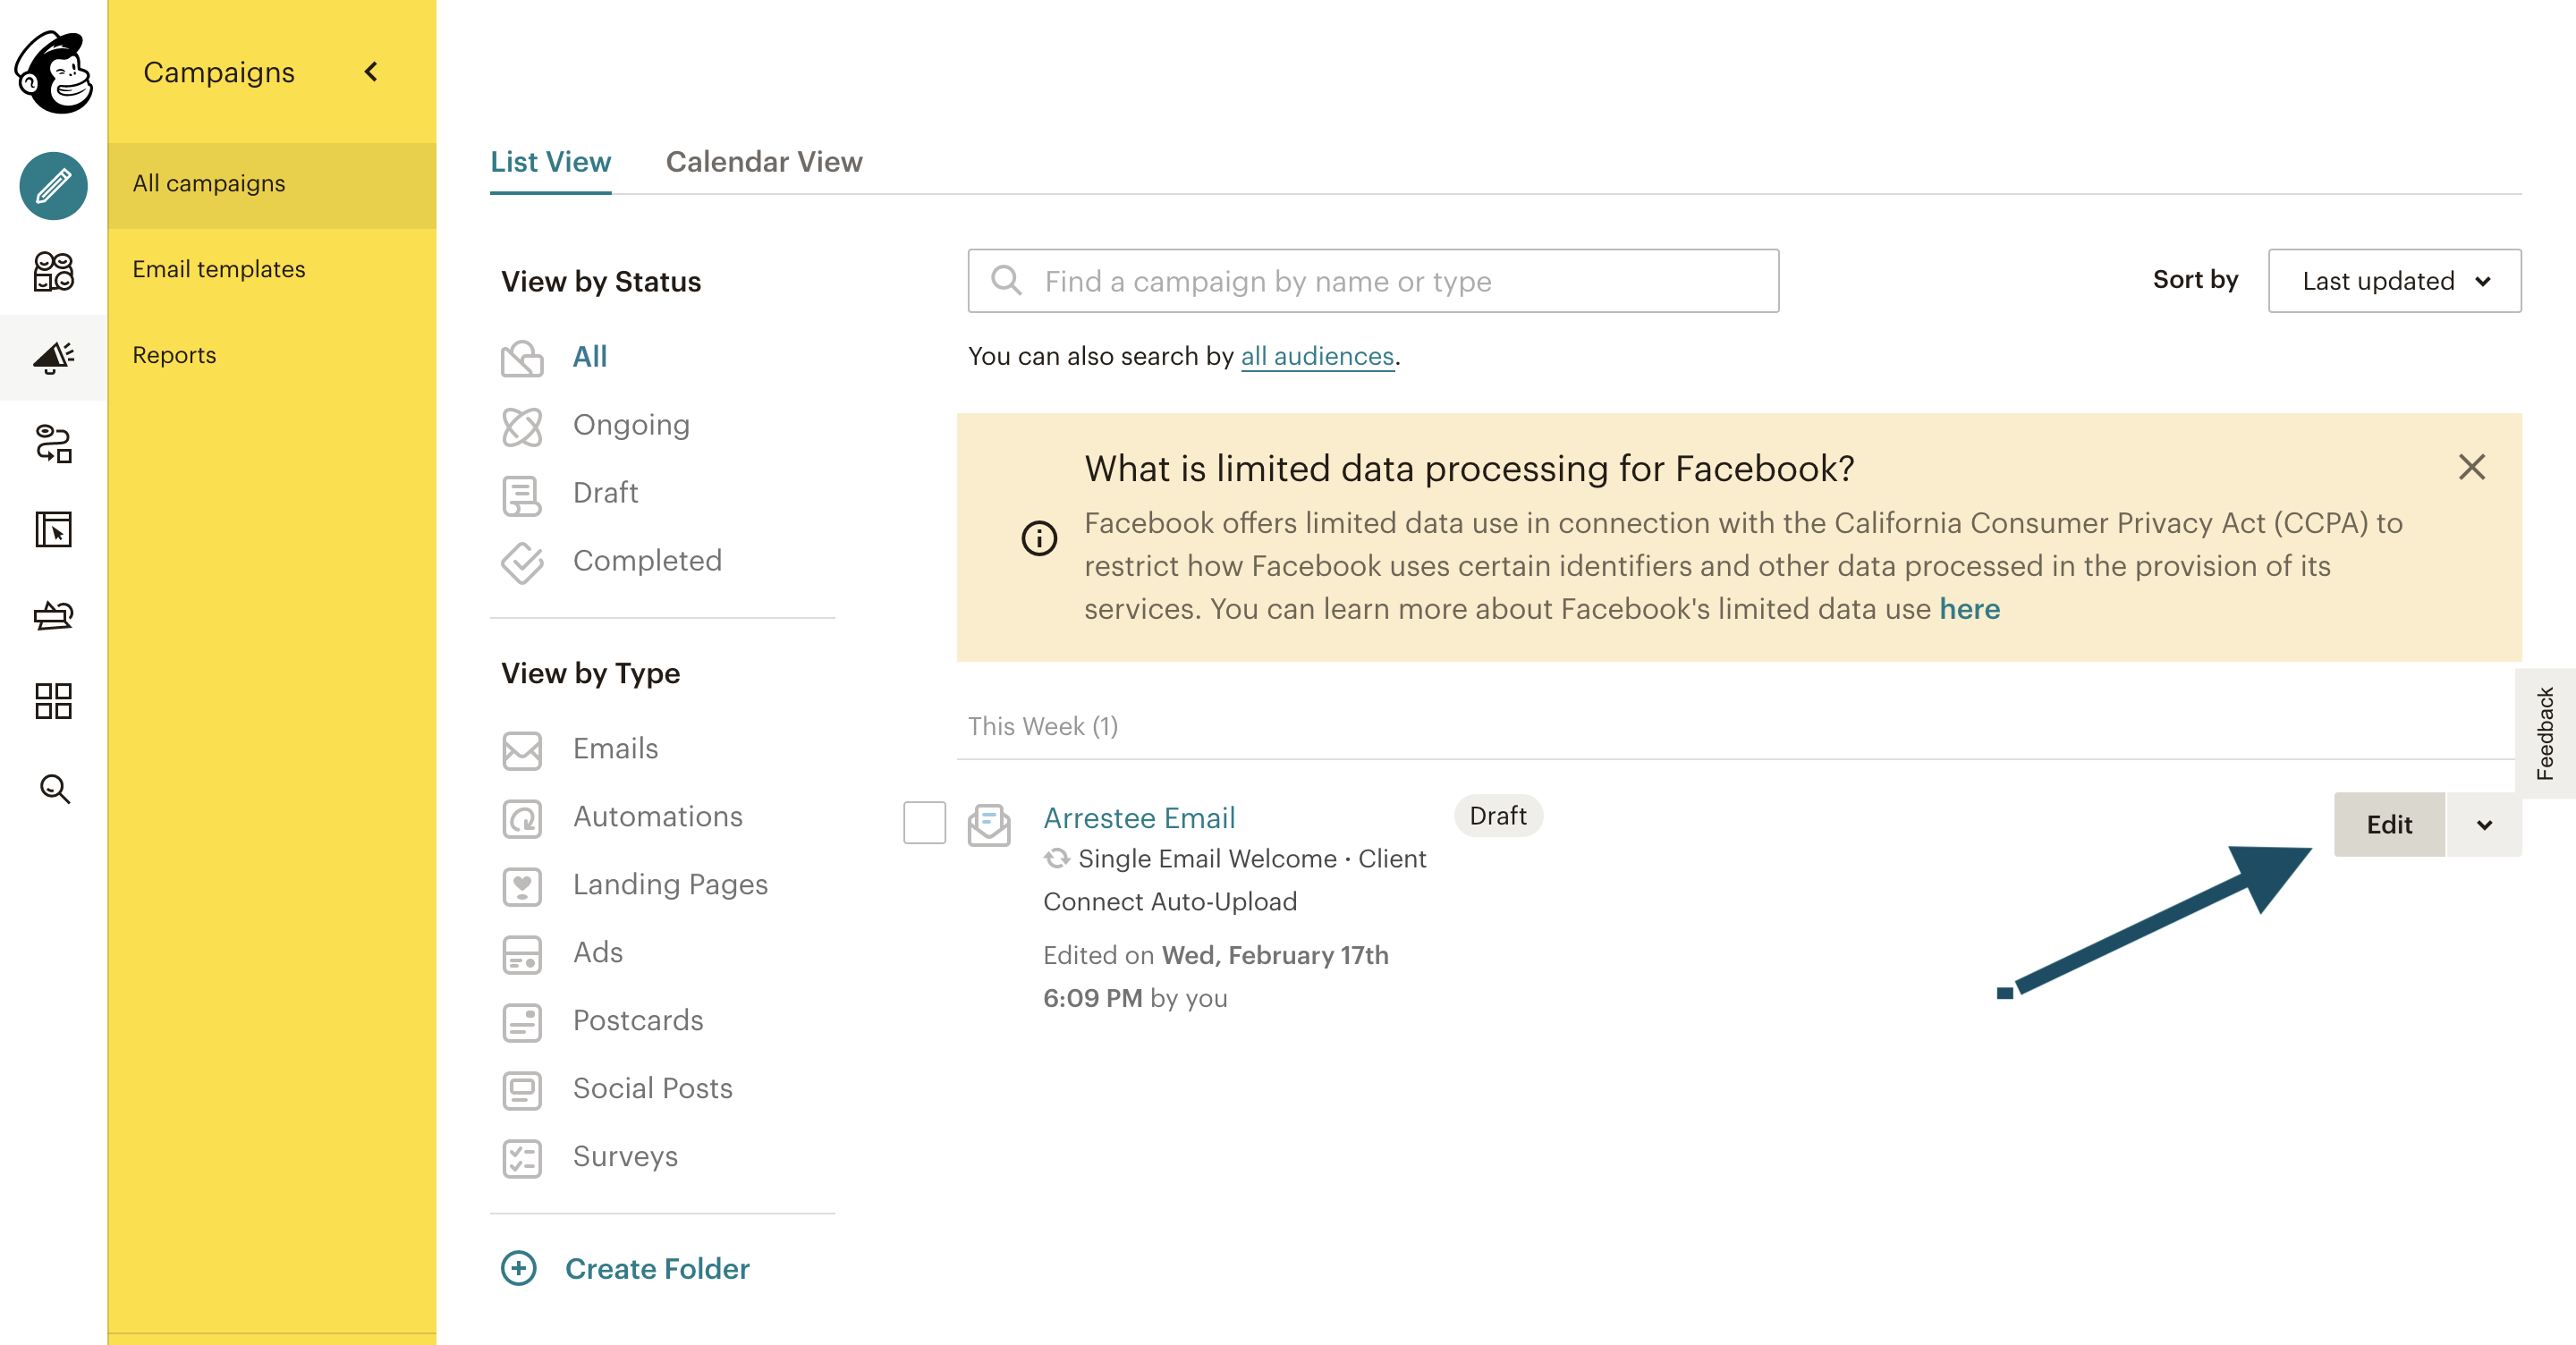
- Find the campaign you’d like to customize, then click Edit.
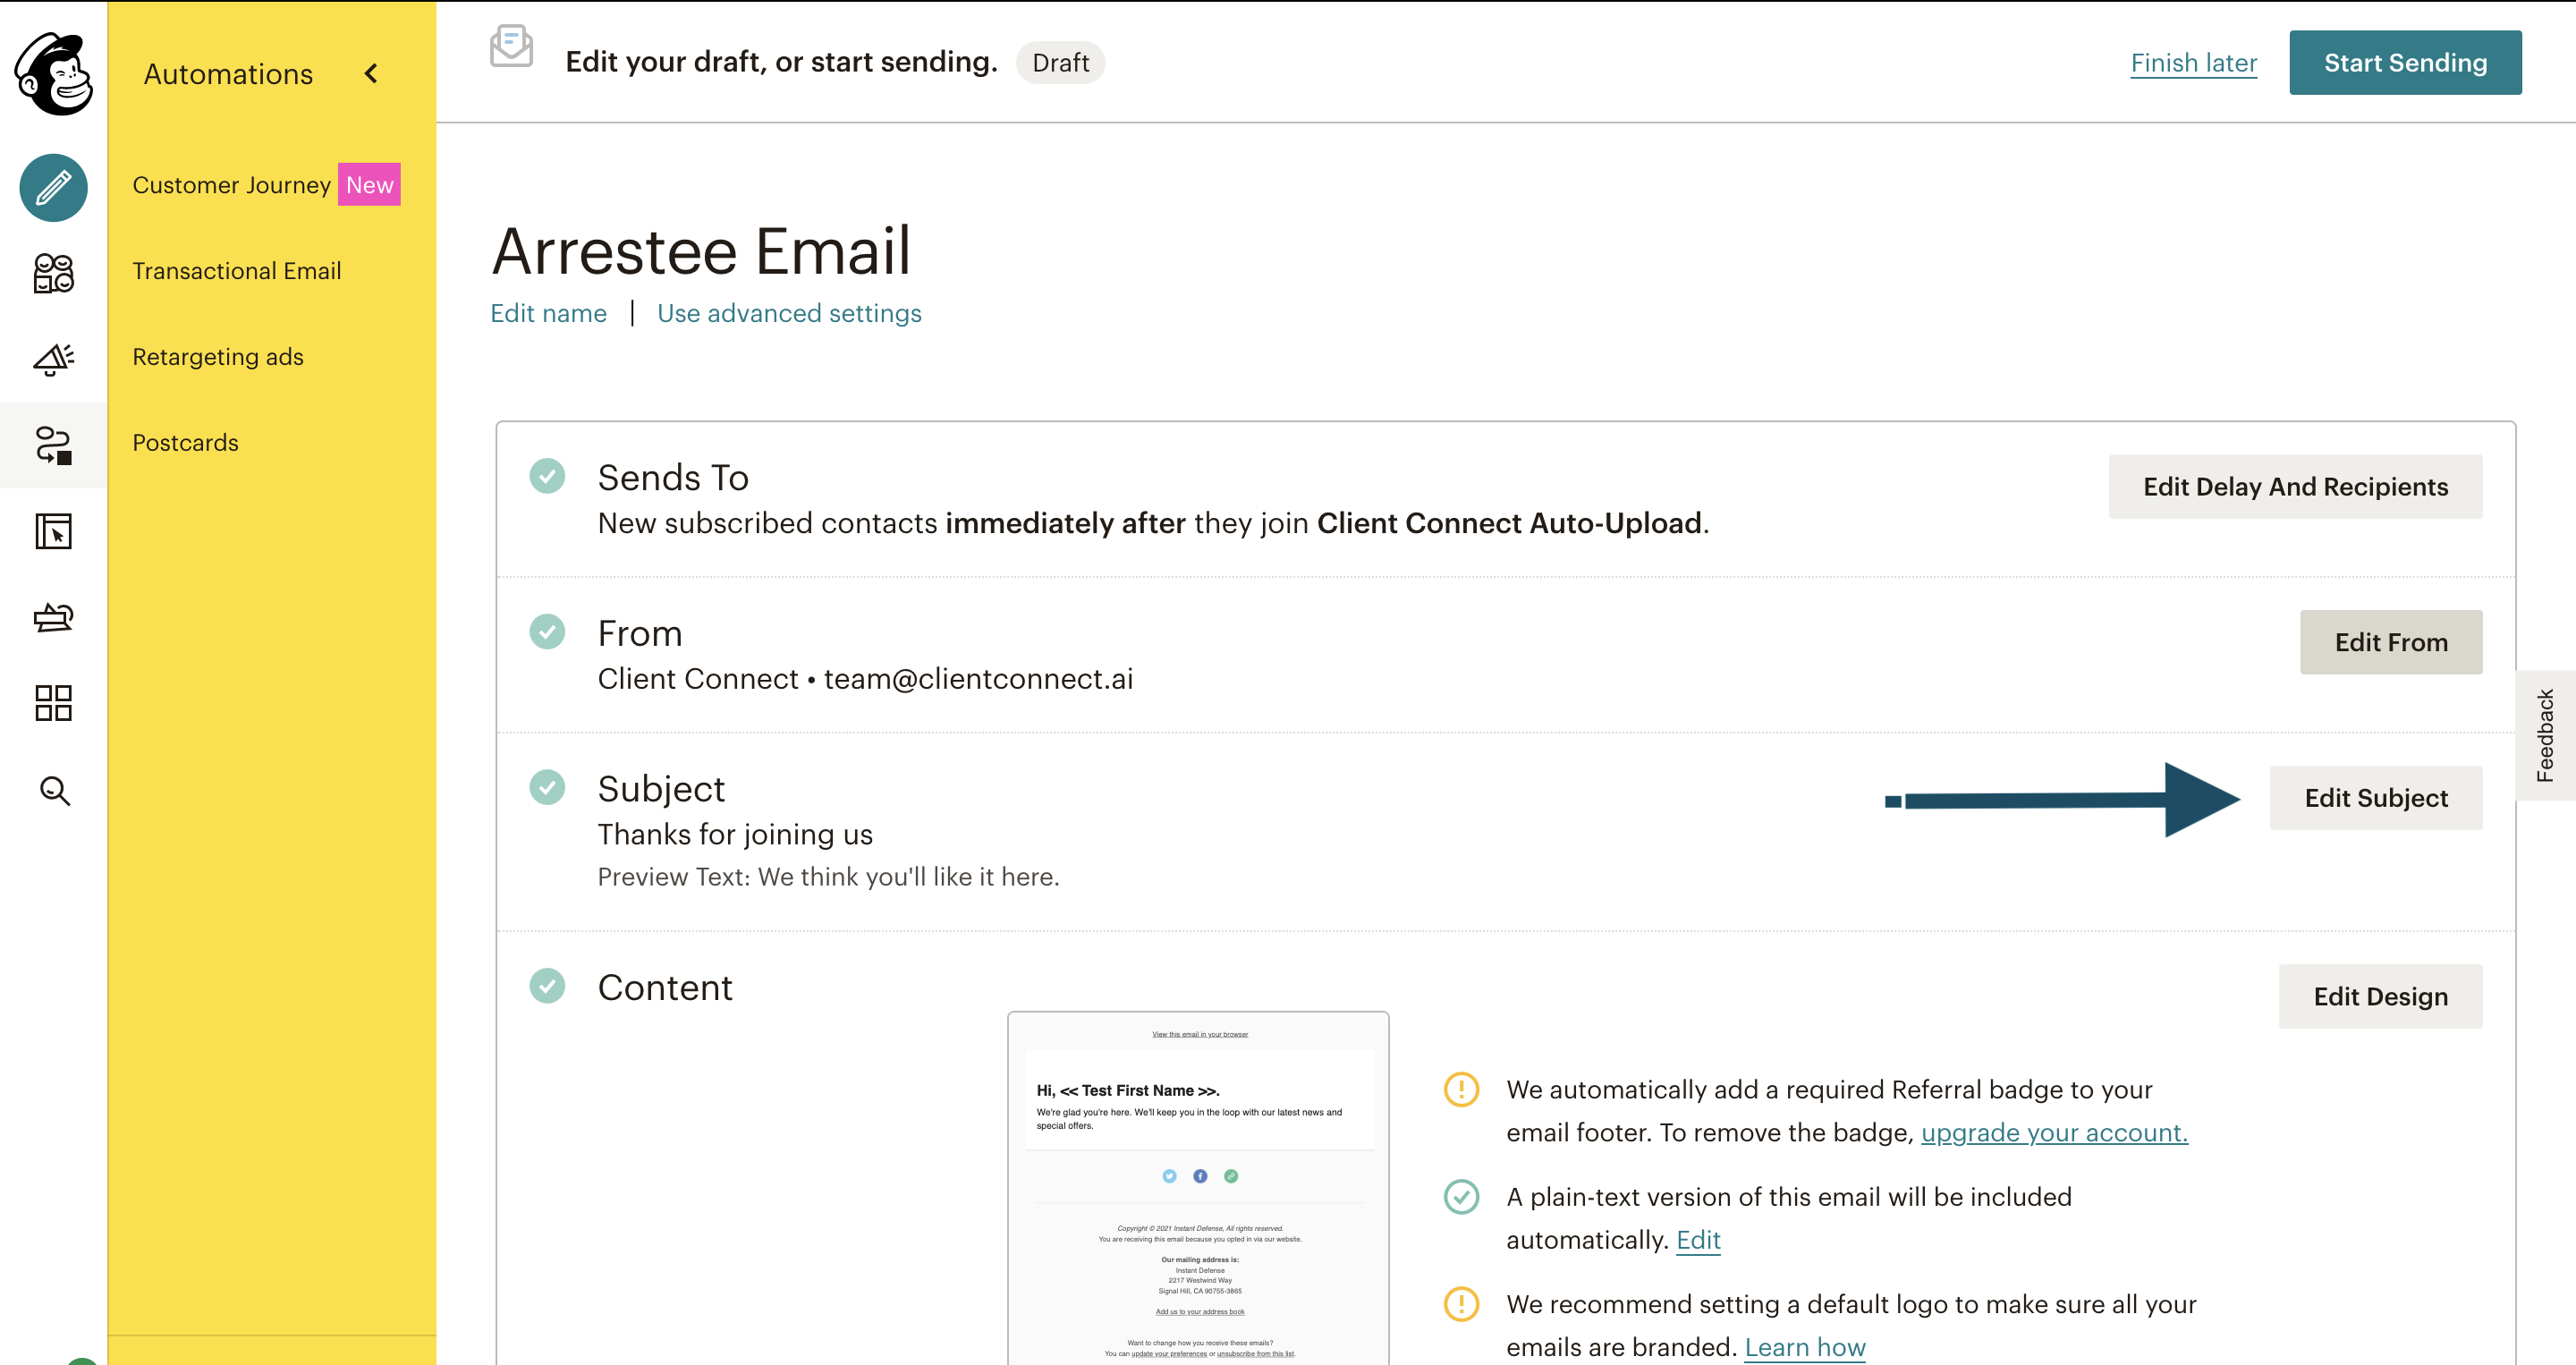
- Navigate to the Subject section of the campaign and select Edit Subject.
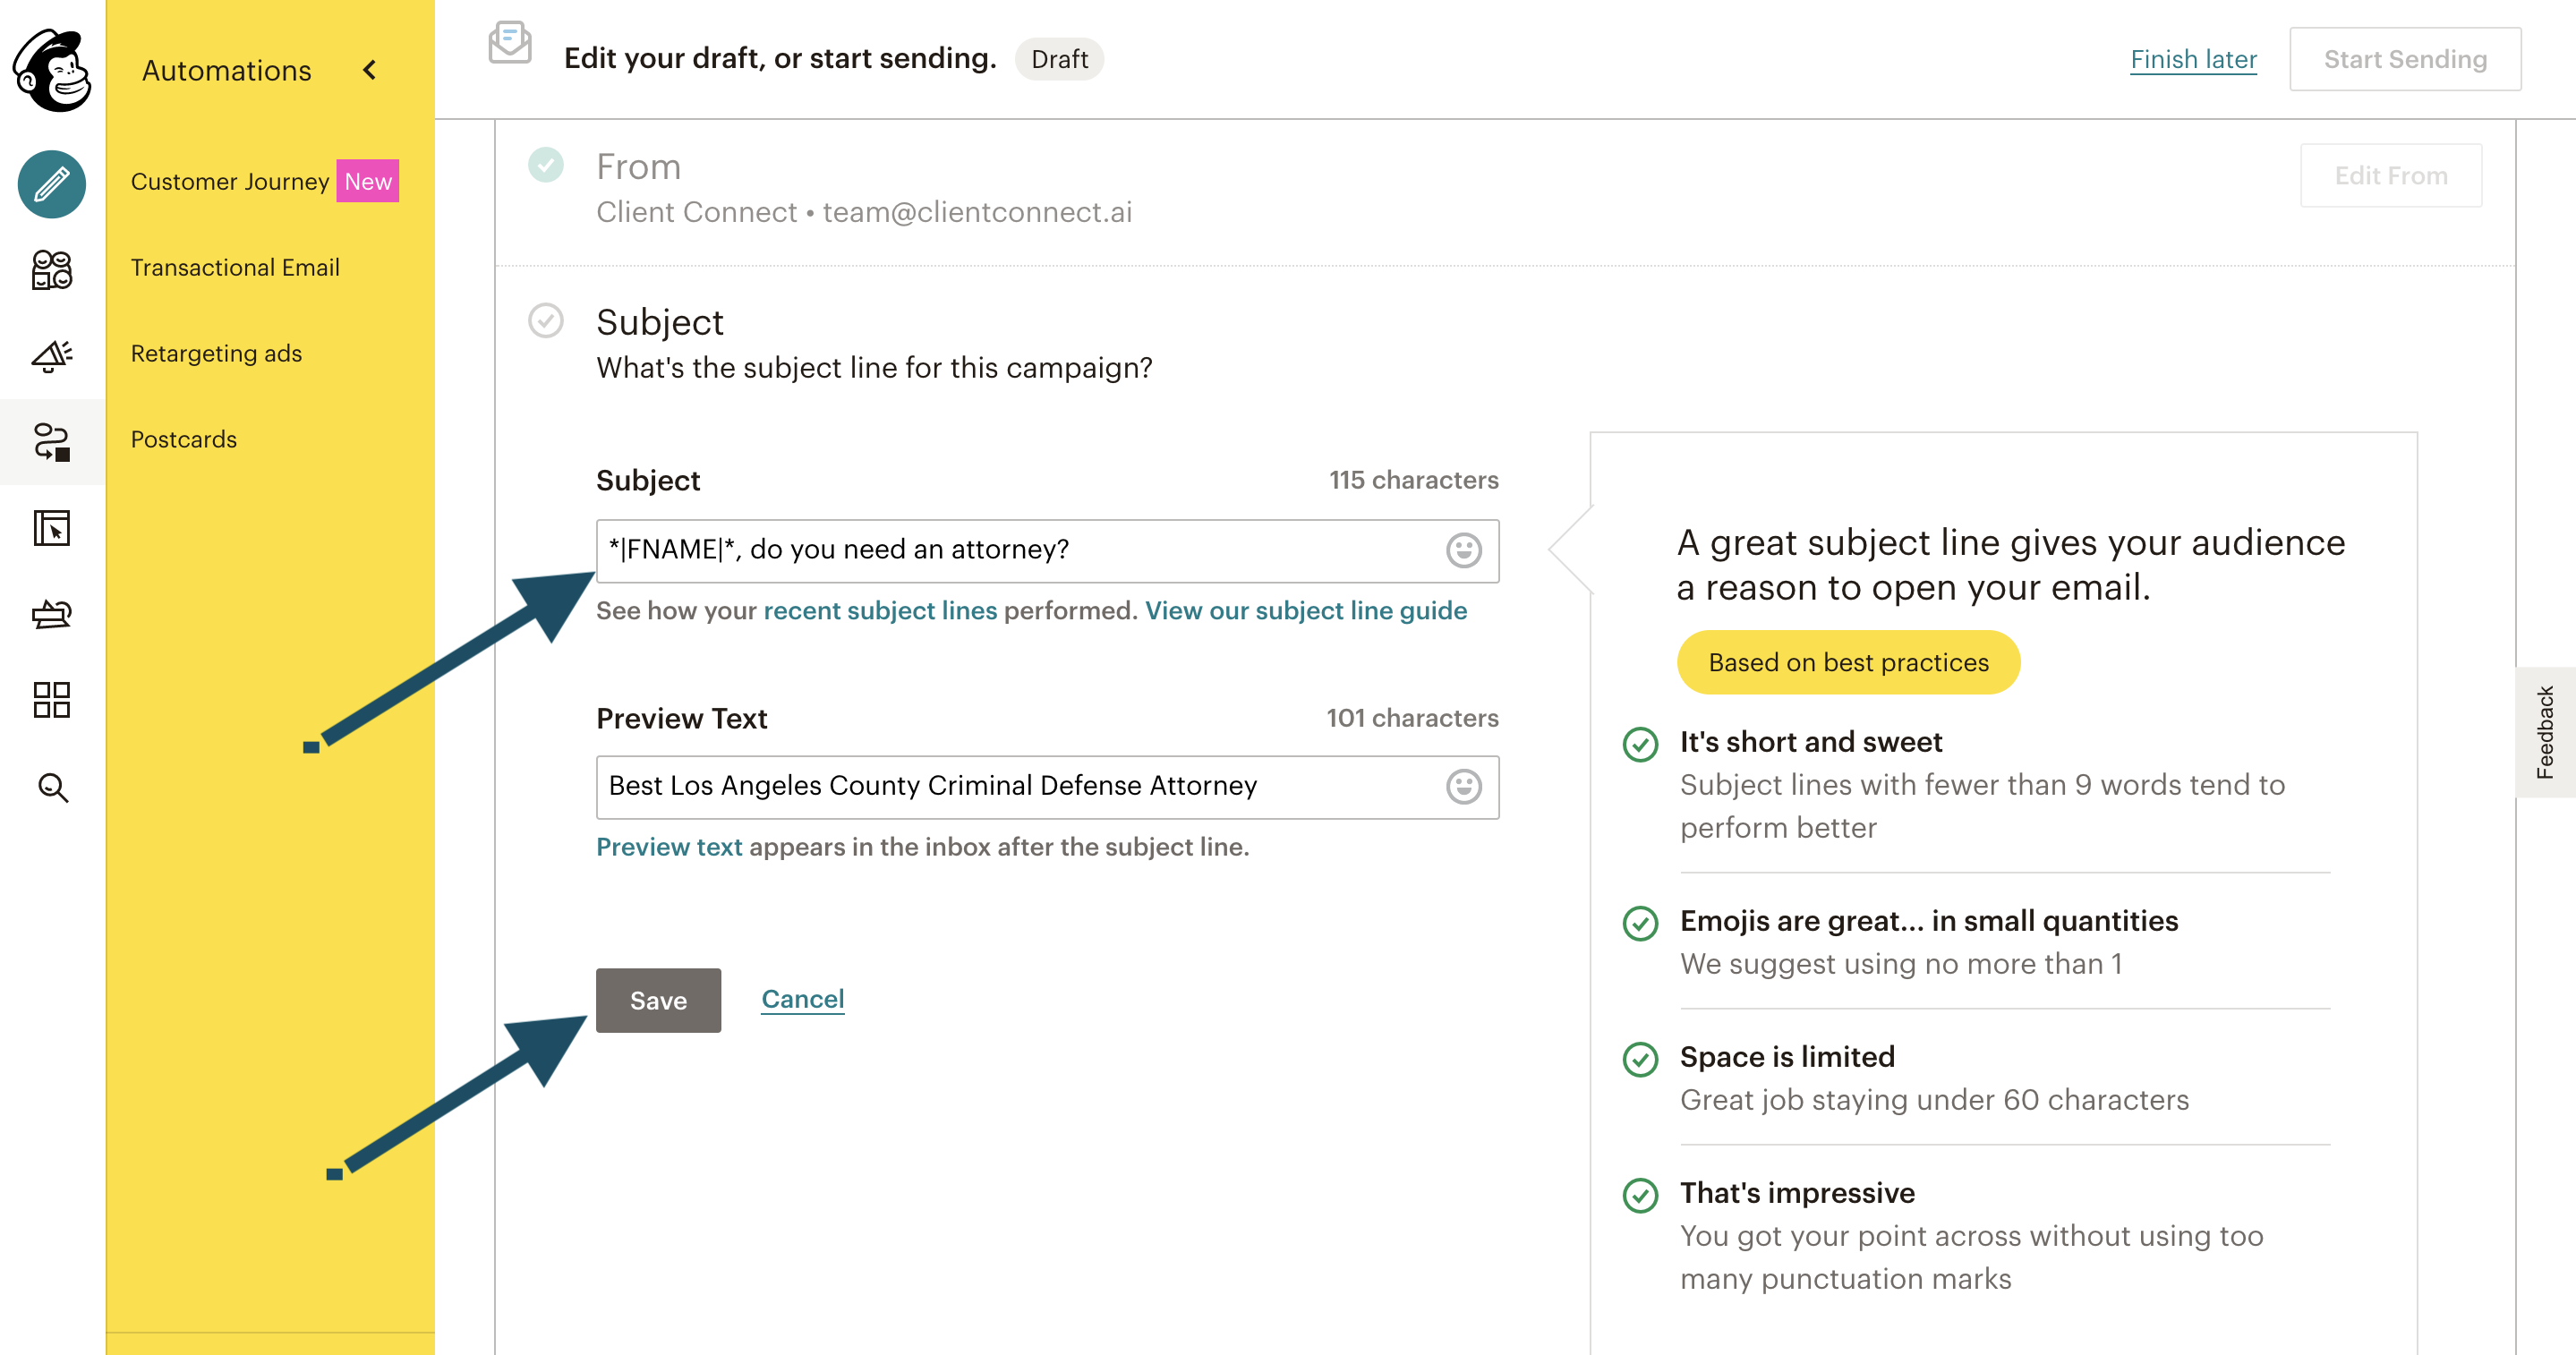
- Add *|FNAME|* to the appropriate portion of your subject line, then select Save.
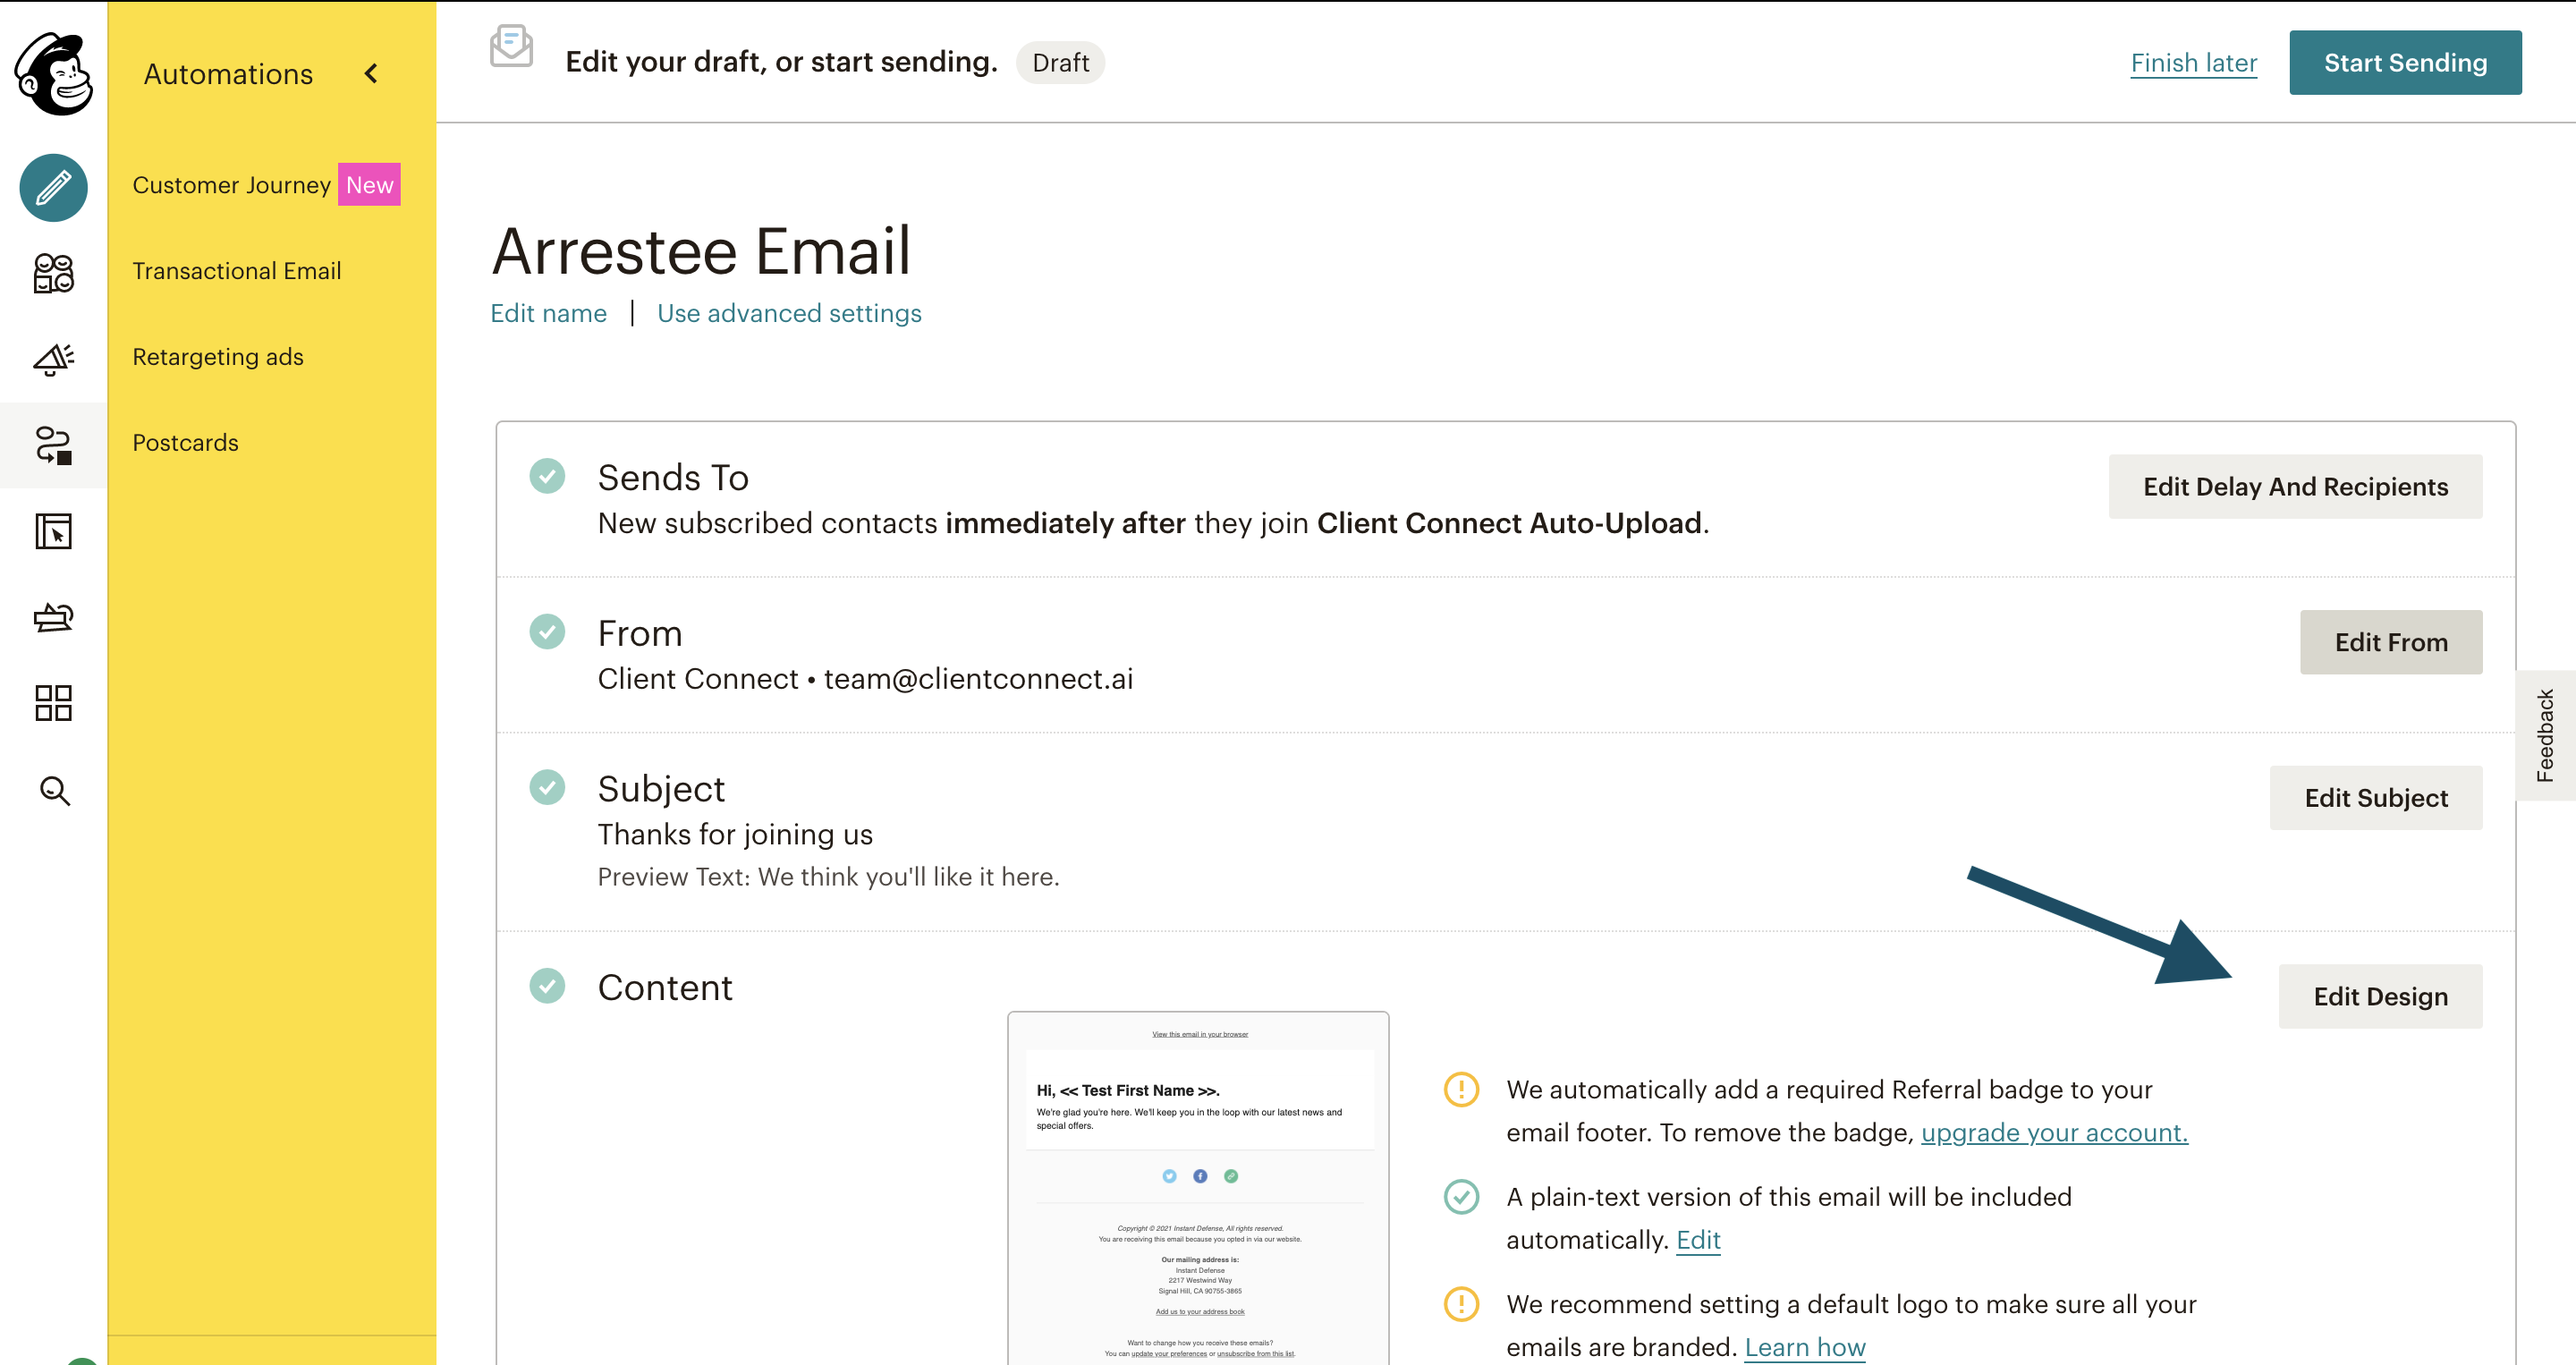
Adding Arrestee Name, Charge, & County to email body.
- Navigate to the campaign you’d like to customize, then select Edit Design
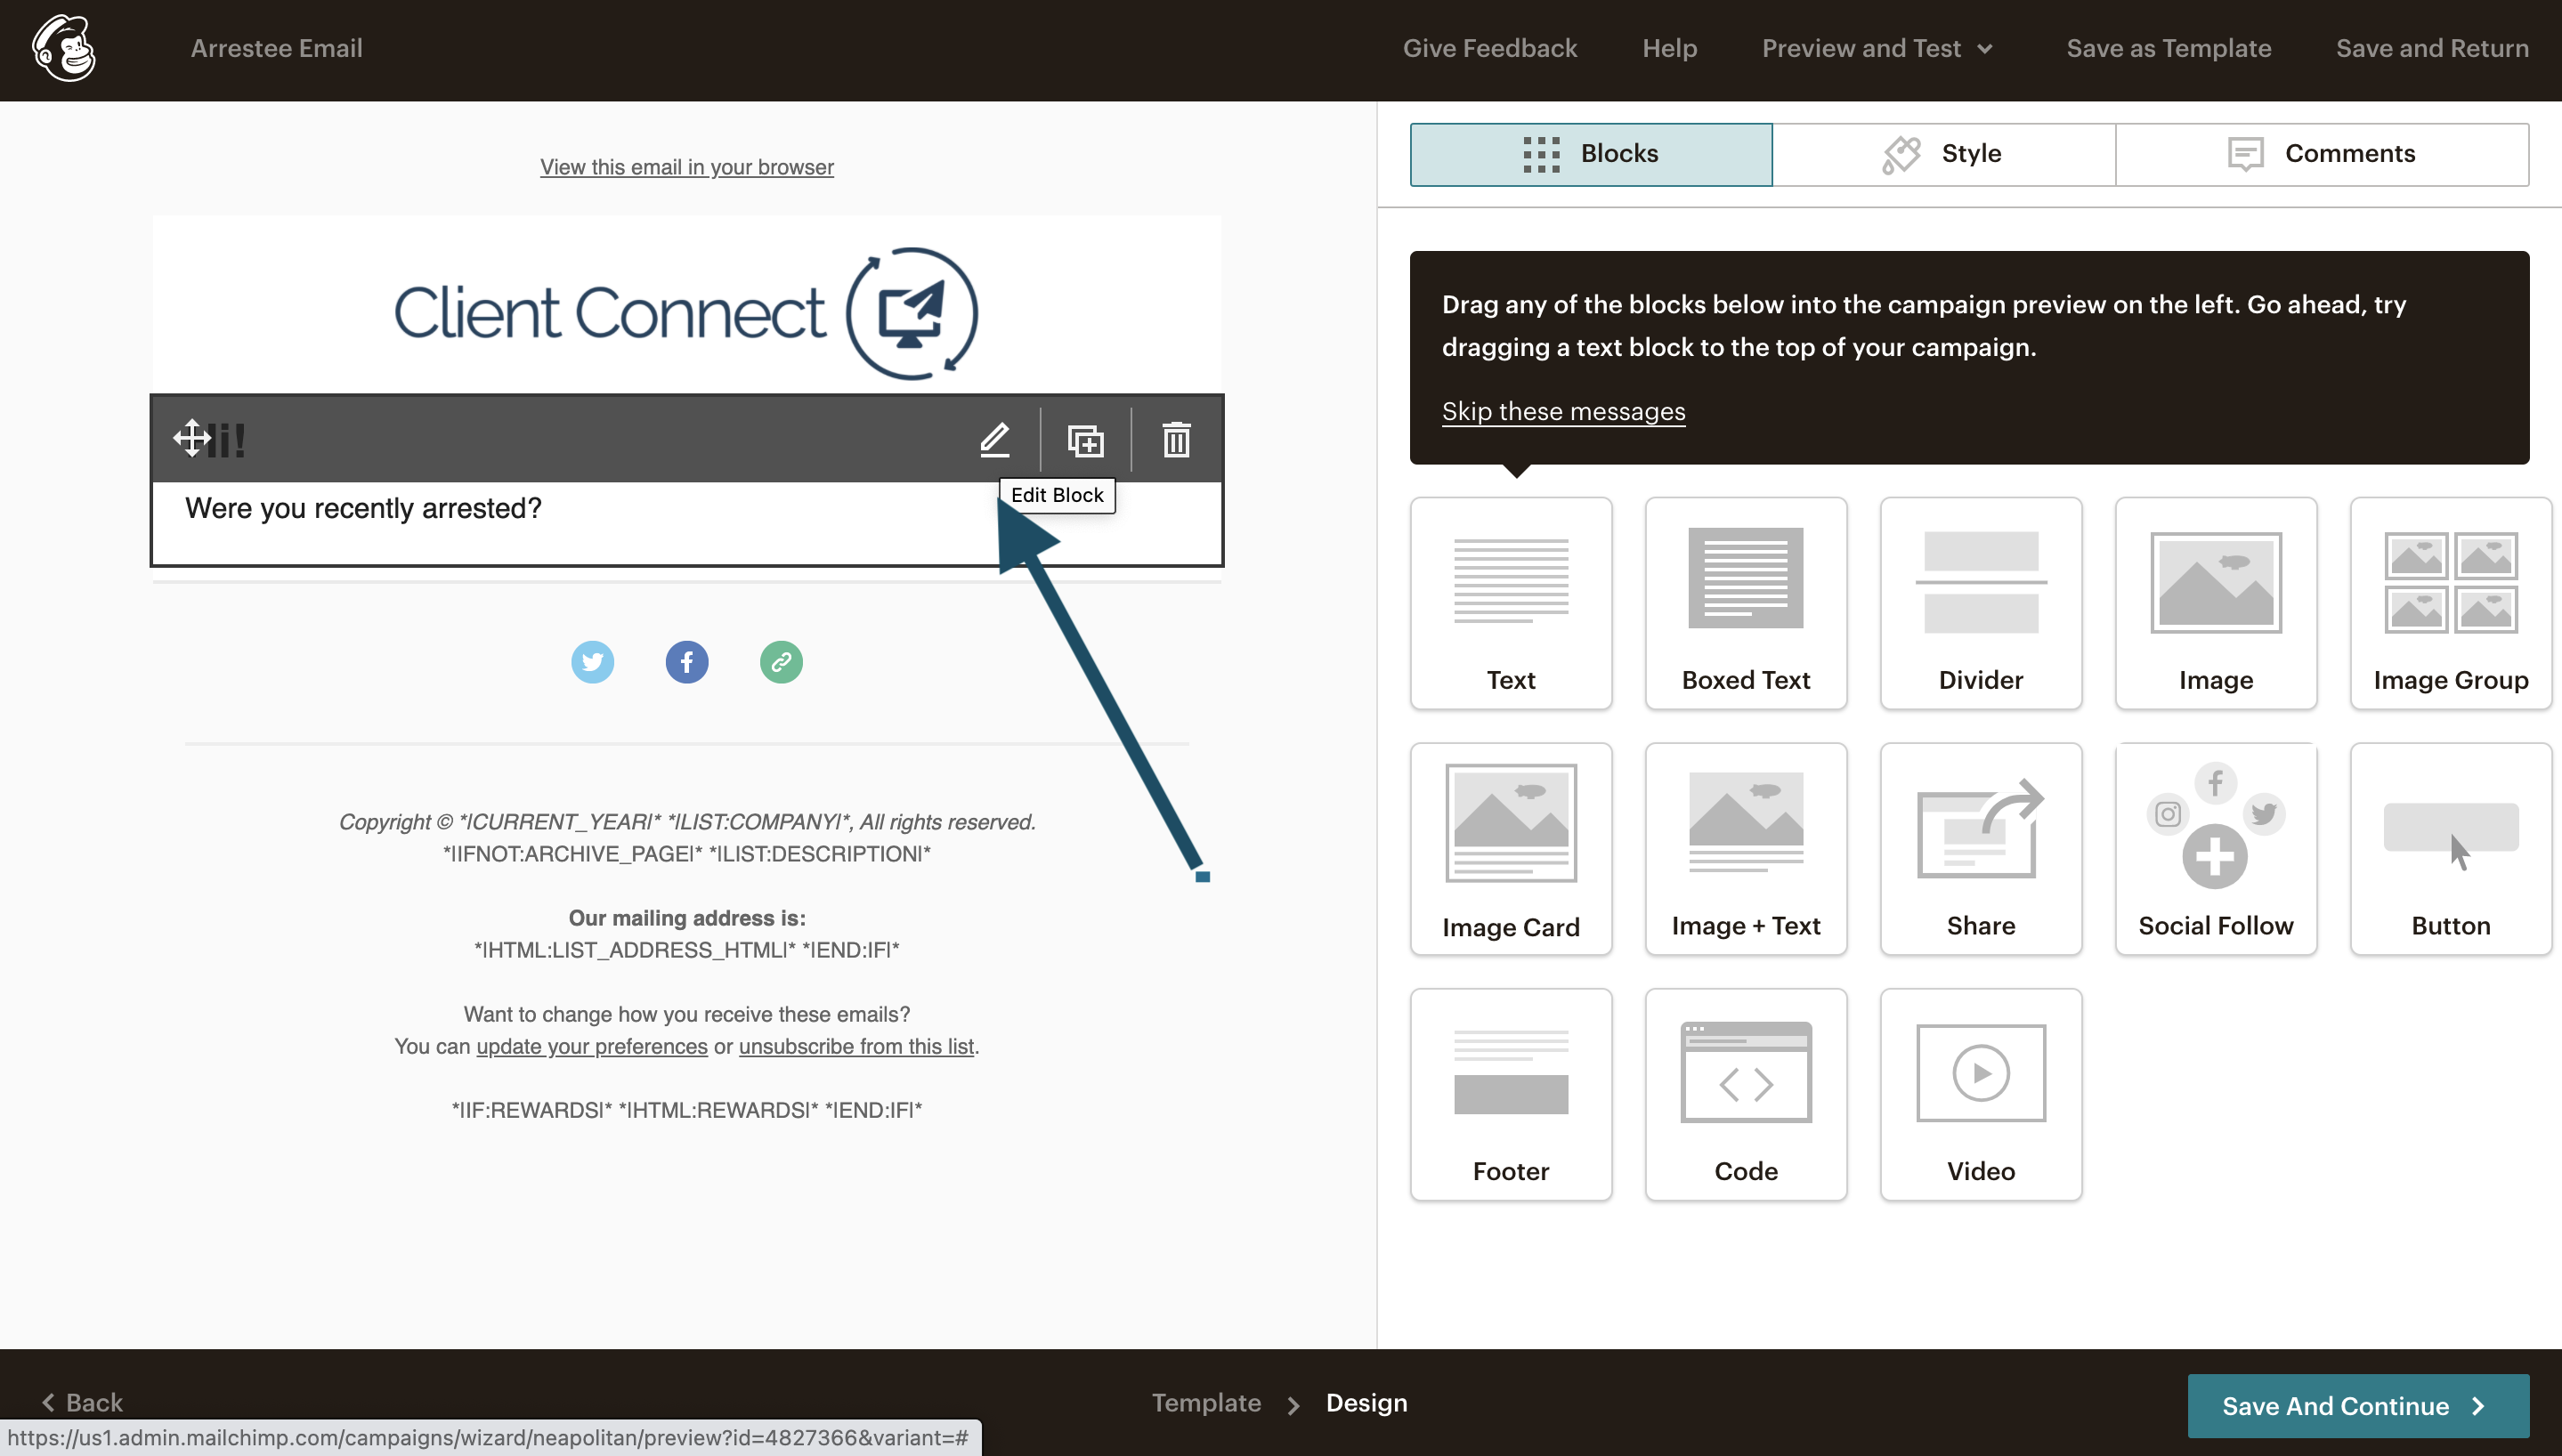
- Find the text block where you want your custom text to be, then click on the pencil icon. If you don’t have a text box already, you can drag a text block into the body of your email from the blocks section.
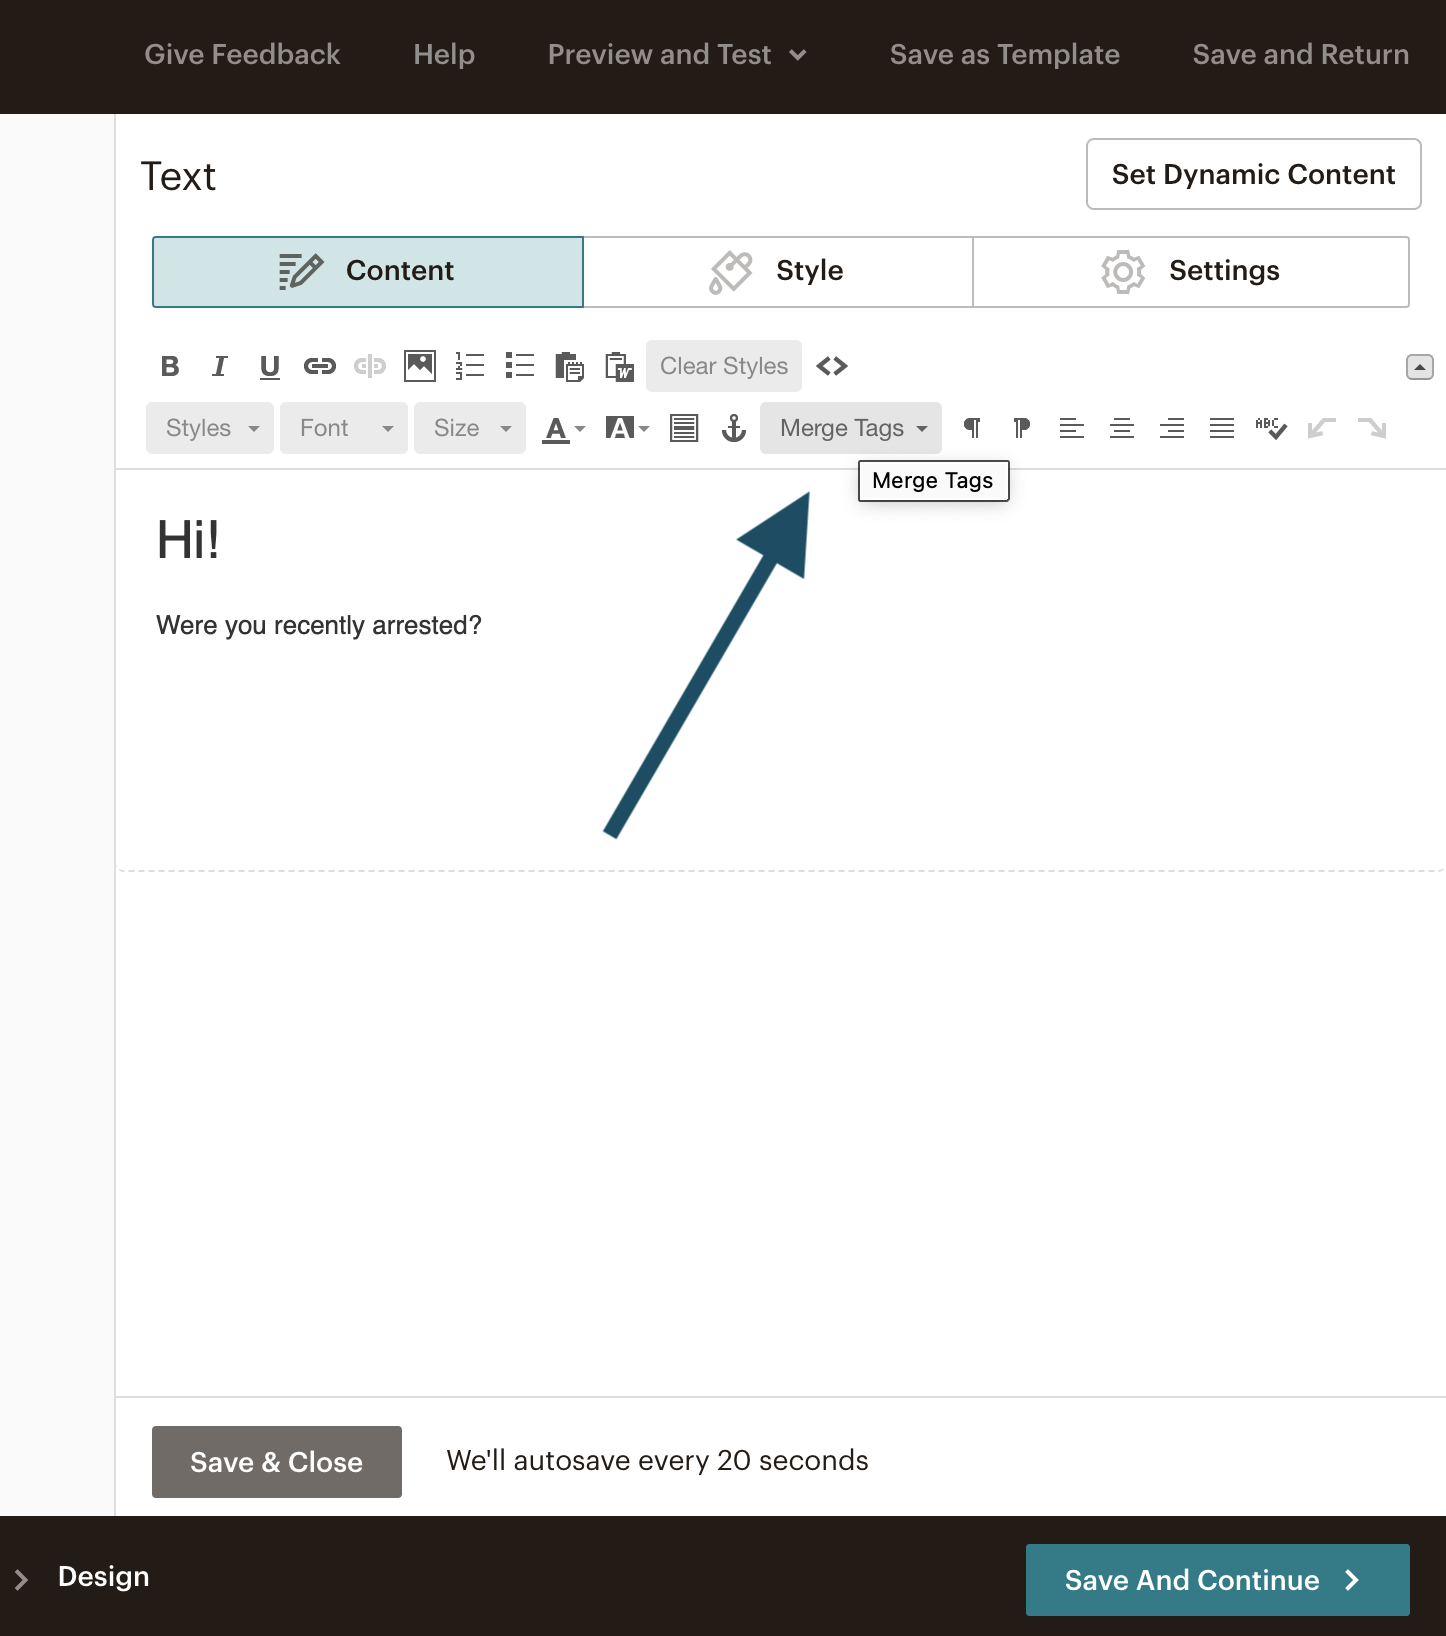
- A text-editing screen will appear on the right half of your browser. Click on the Merge Tags dropdown to select a custom field for your text box. You can choose between First Name, Last Name, County, & Charge.
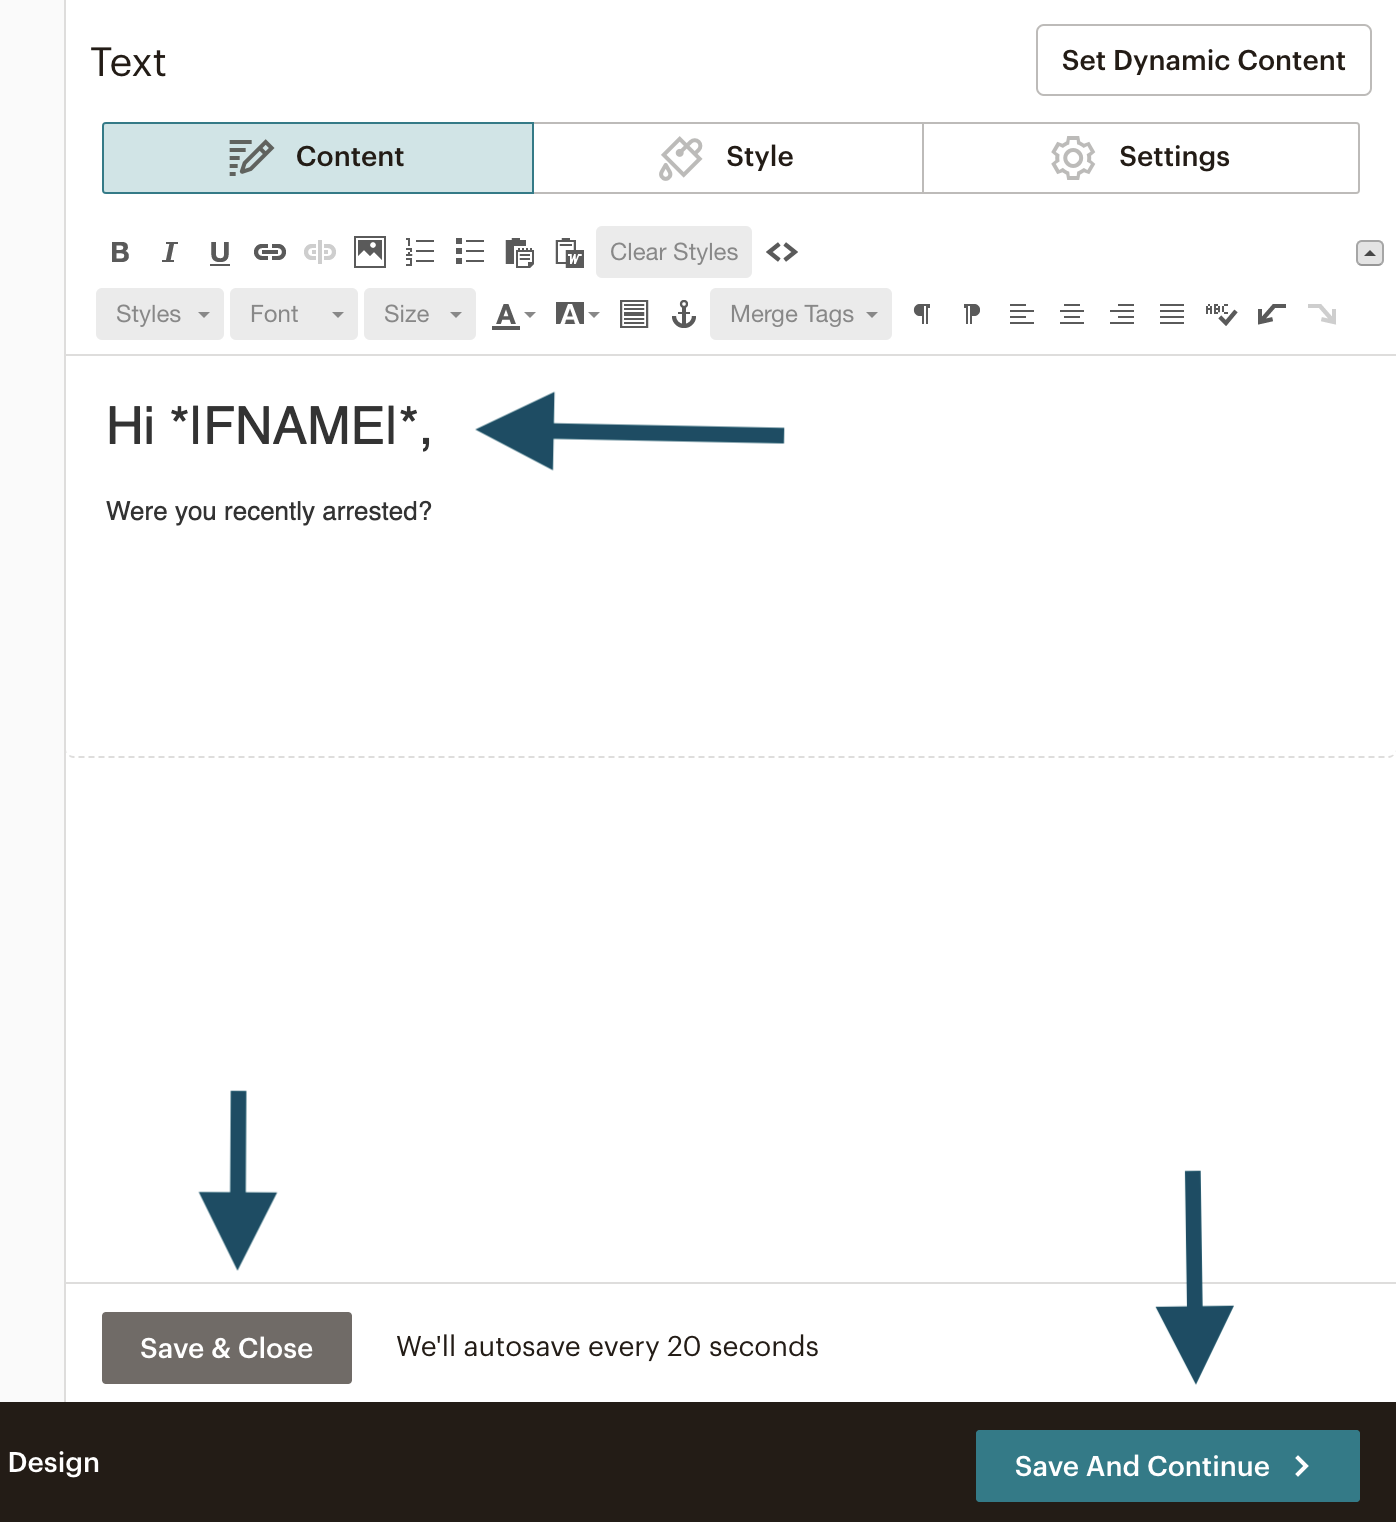
- You’ll see the field you selected populate into your text box. Add as many fields as you would like, click Save & Close, then click Save And Continue.
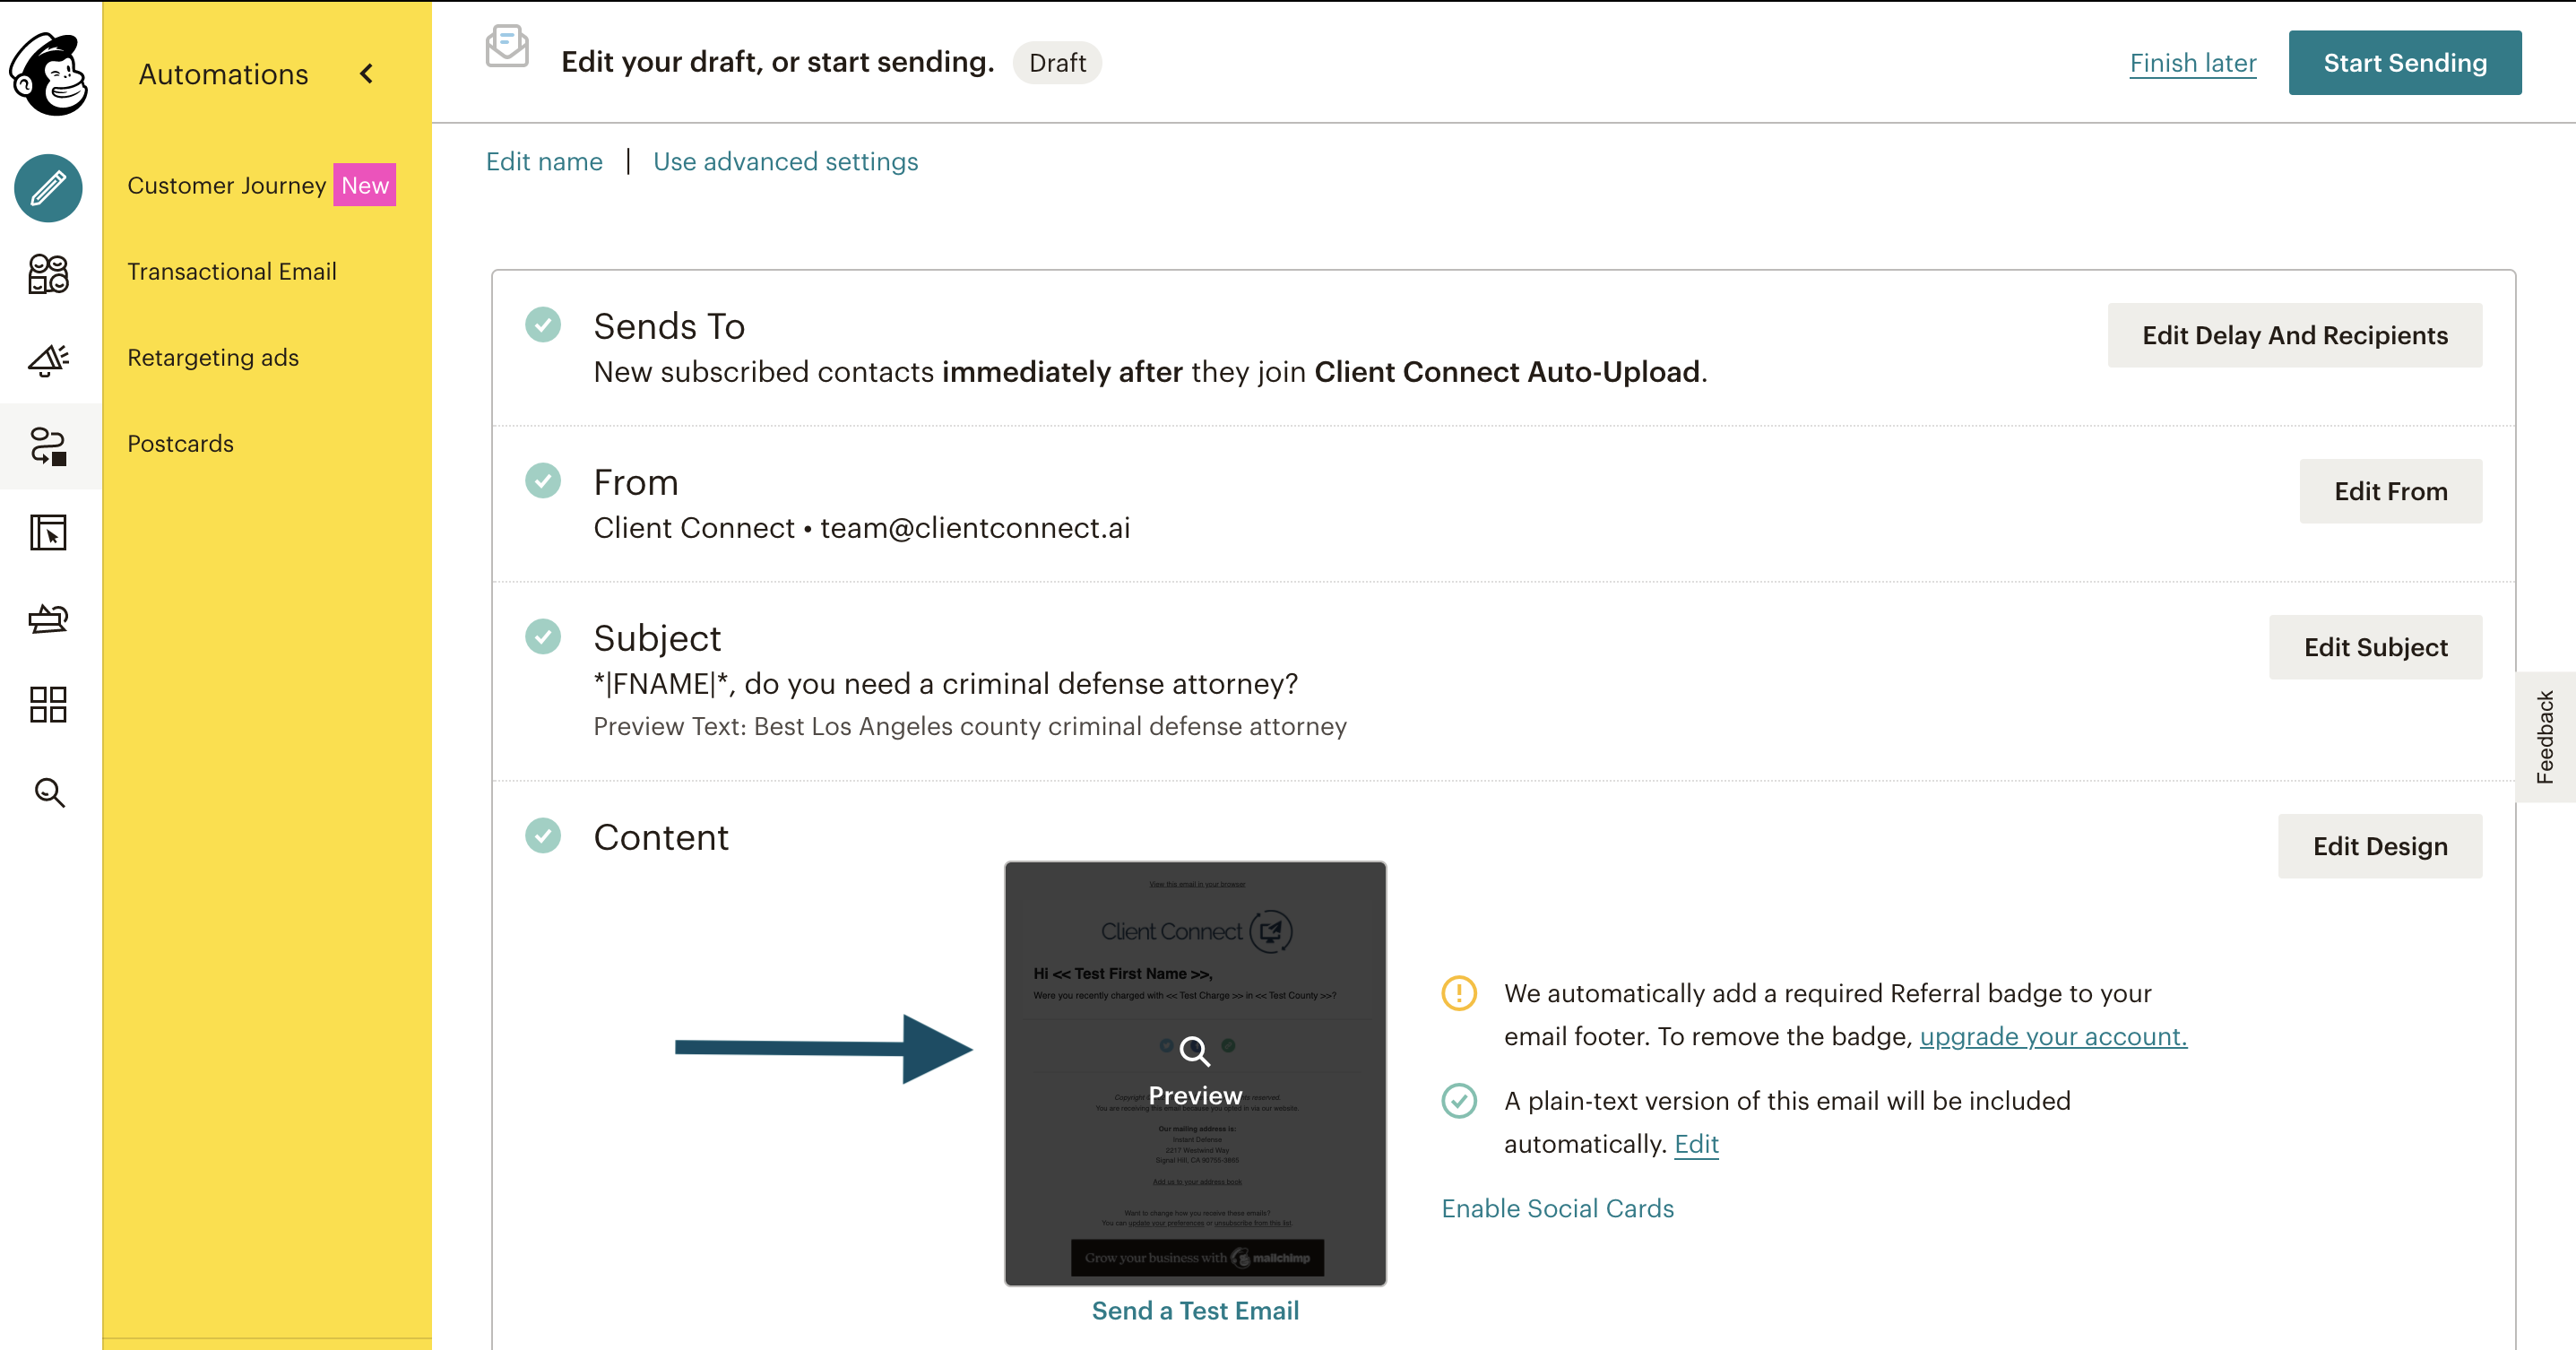
Testing your custom email.
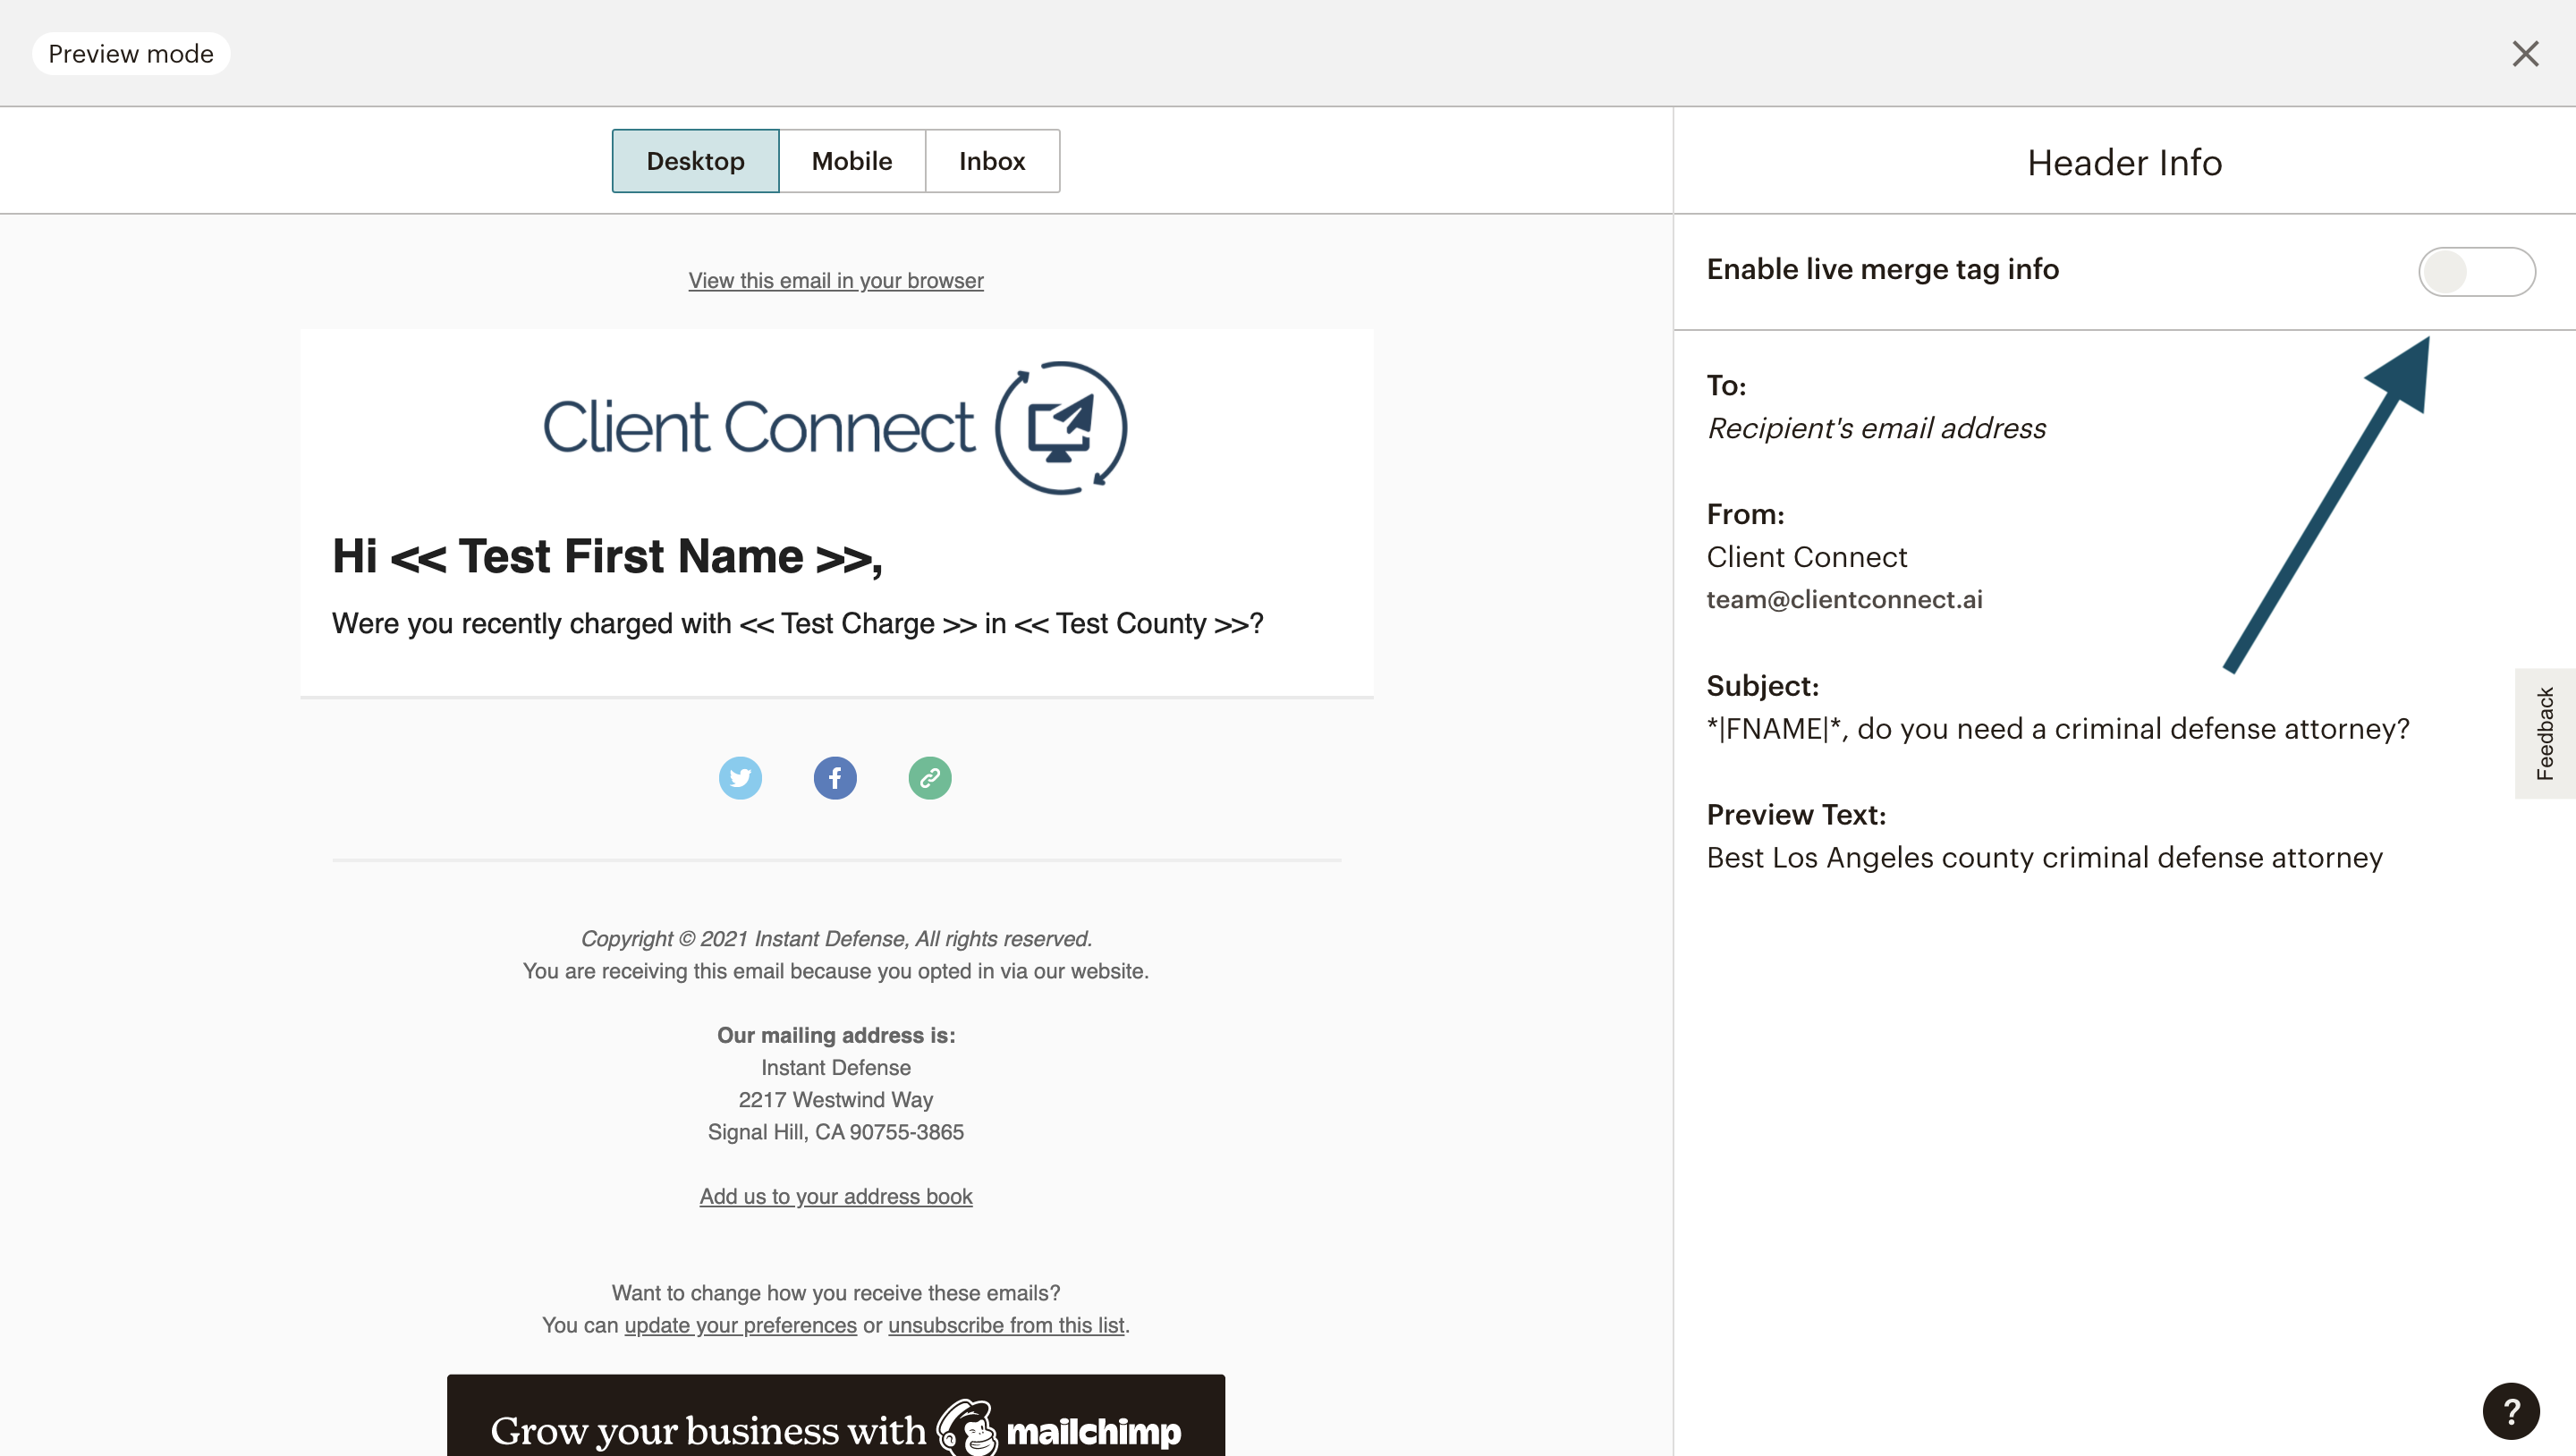
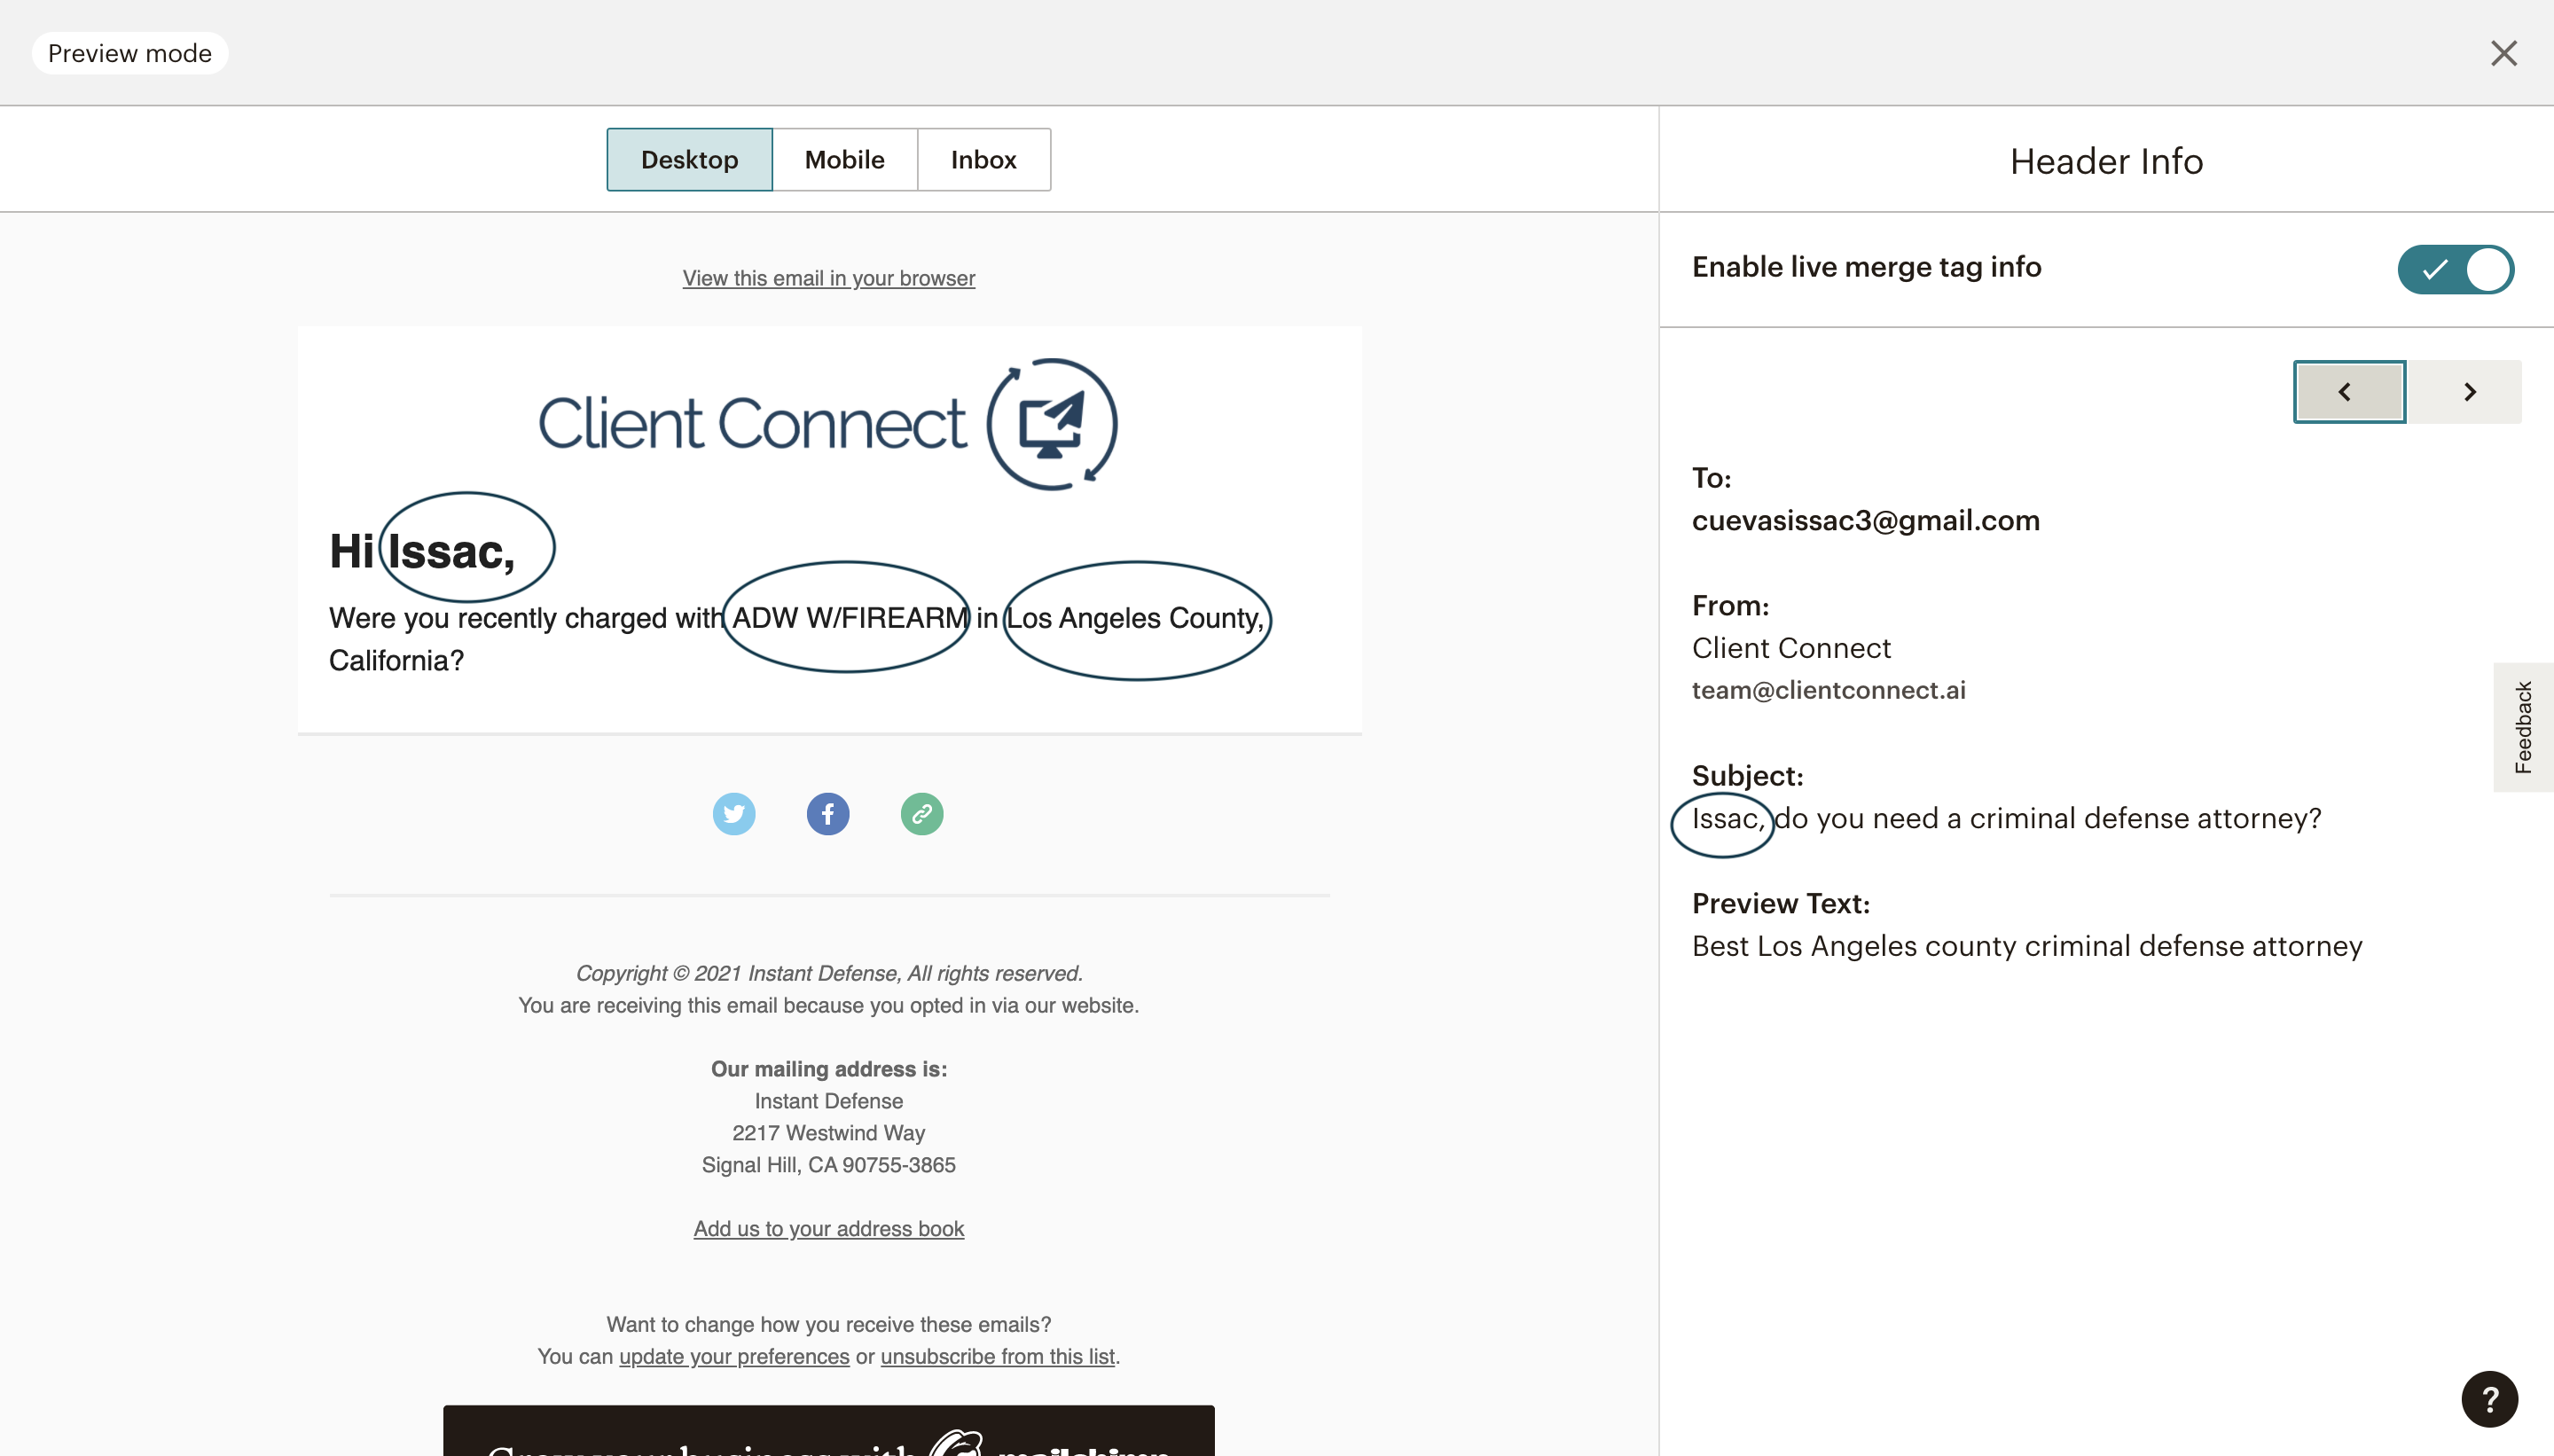
To make sure your criminal defense marketing emails are populating with the correct data for each arrestee, you can preview an email with sample data from an arrestee in your audience. Here’s how:
- Navigate to the Content section, then click on the preview box.
- Turn on Enable live merge tag info.
3. Use the arrows to navigate between criminal leads in your audience. You should see the email populating with the data unique to each arrestee.
- Congratulations! you’re ready to start sending! Exit the preview then select Start Sending on the next screen!
Be sure to check out our other criminal defense marketing guides!
- How to clean out your MailChimp audience.
- How to dodge spam filters and reach arrestees.
- How to send yourself a test email in MailChimp®.
- How to create charge-specific campaigns.
- How to automate emails to each arrestee.
Having trouble? Contact us and we’ll troubleshoot with you.